Pattern making is so much fun, especially when you’ve got lots of lovely tapes to work with!
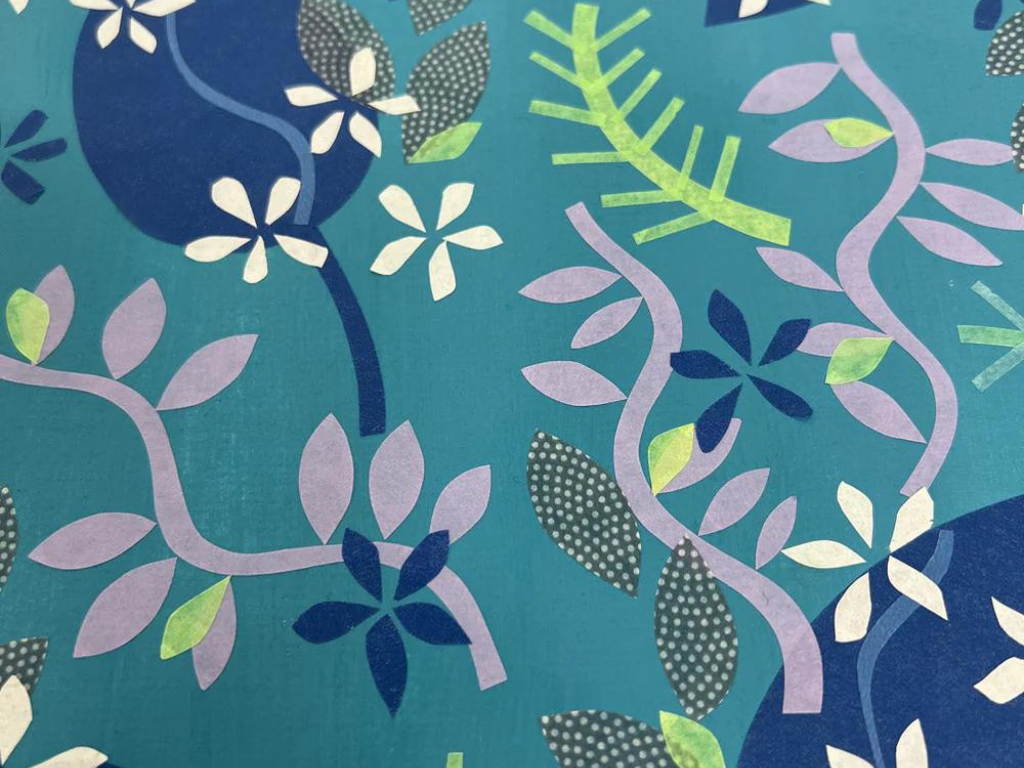
This step-by-step guide will show you how to make a simple pattern, building up different layers of mt Masking Tape as you go. You could use this technique to make mini greetings cards to send for friends, or you could think about your patterns as designs for textiles or large scale prints. I’ve used cool, icy blues tones to form my pattern, but you can use any colour scheme you like.
Materials:
- A4 White base card, and paints to colour it with (alternatively you can use coloured paper)
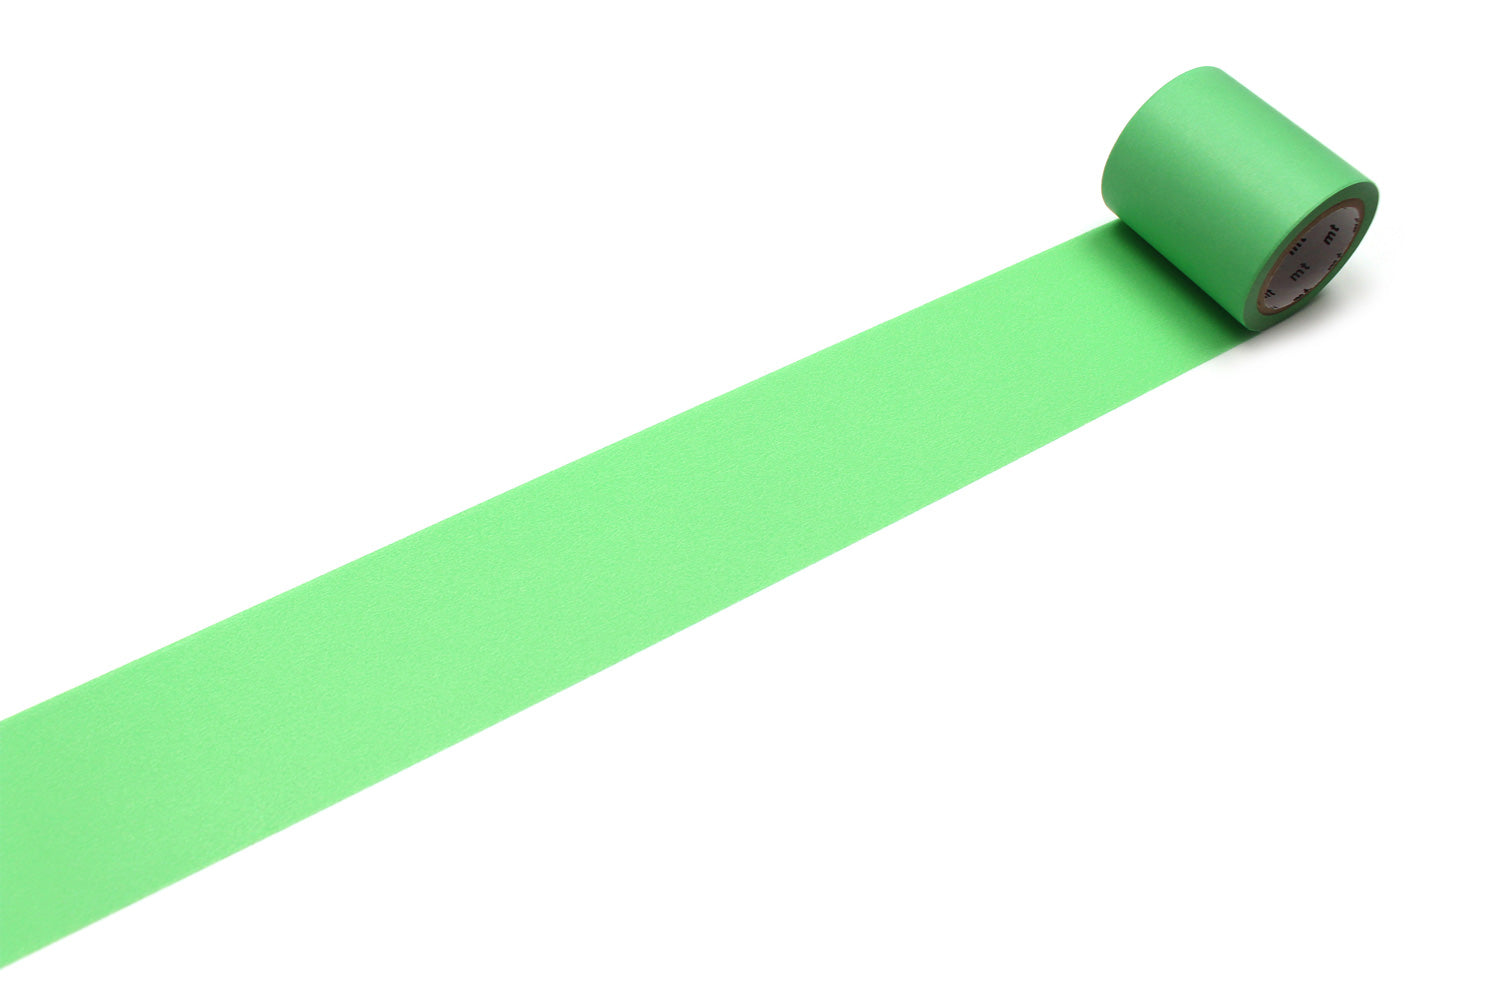
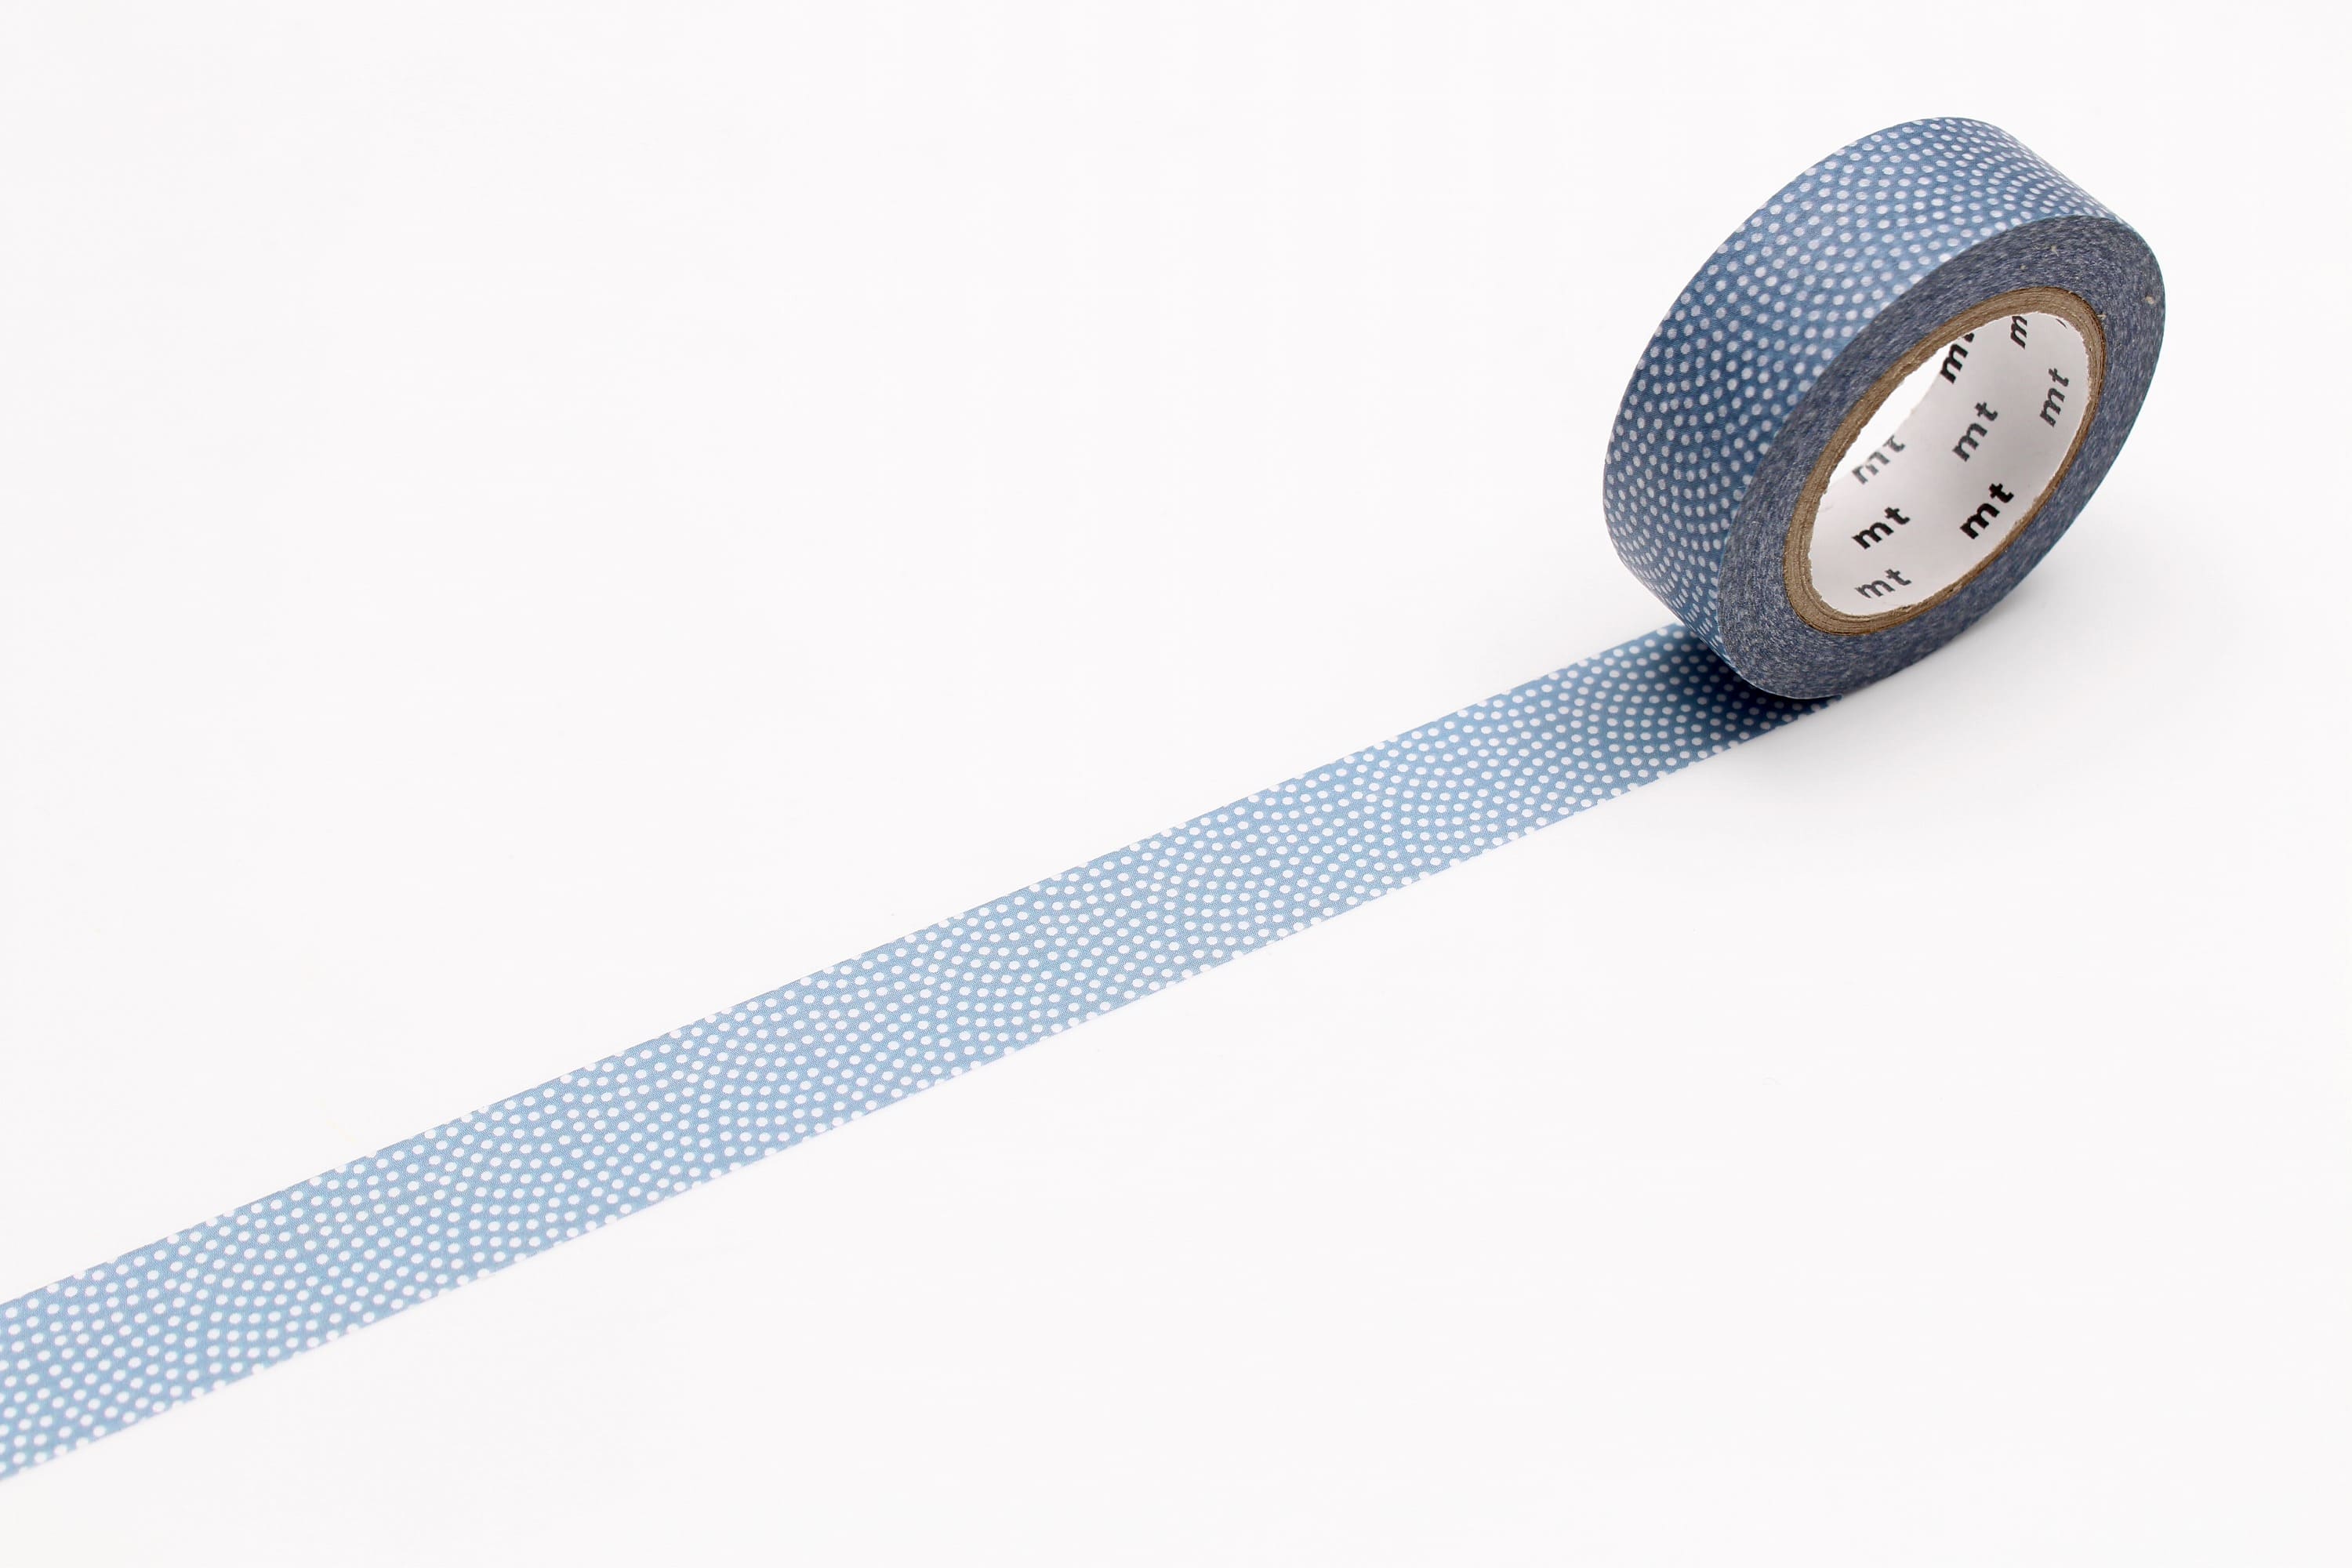
- A range of mt Masking Tapes, including some larger mt Casa rolls
- Cutting mat
- Craft knife

1. Start by painting your base card with a bright colour. Use a wide flat brush to apply your paint and leave the edges of your page untouched. Put it to the side to dry completely.

2. Using your darkest coloured tape to cut out a selection of leaves for the first layer of your pattern. Roll out a good amount of Casa tape on your cutting mat and use your craft knife to cut teardrop shapes of different sizes, plus curved stalks to go with them. Add a thin wiggle in a lighter shade of tape to the centre of your leaves and dot them around your page.

3. Next choose a lighter coloured tape to create some curvy twigs. I’ve gone for a green tape here with a slight gradient to it. Use your knife to cut a curved stem and lots of thin rectangles to add to either side. You’ll want four or five in total.

4. Next cut out some wiggly stems and some tiny leaves to go with them. Alternate which side the leaves sit and arrange the stems at different angles across the page.

5. Now it's time to add some pops of pattern and flowers to your page! I particularly like this tiny polka dot tape, but feel free to use any pattern you like. Use your knife to cut out leaf shapes, scattering them across your page in bunches of three. They can overlap with other parts of your collage. Use white tape to roughly cut out tiny petals for your flowers. Each one should have five petals to it, and again place them in bunches of two or three, overlapping with the other shapes you’ve made.

6. Return to your darker coloured tape and create more flower petals using the same technique as above, this time dotting single flowers around the page to pull it all together. Use your green tape to add some final leaves here and there. Stand back from your collage to check the balance of your composition and add an extra flower or two if you feel it needs it.

Happy making!
For more collage inspiration, follow @collageclubldn on Instagram.


