Materials
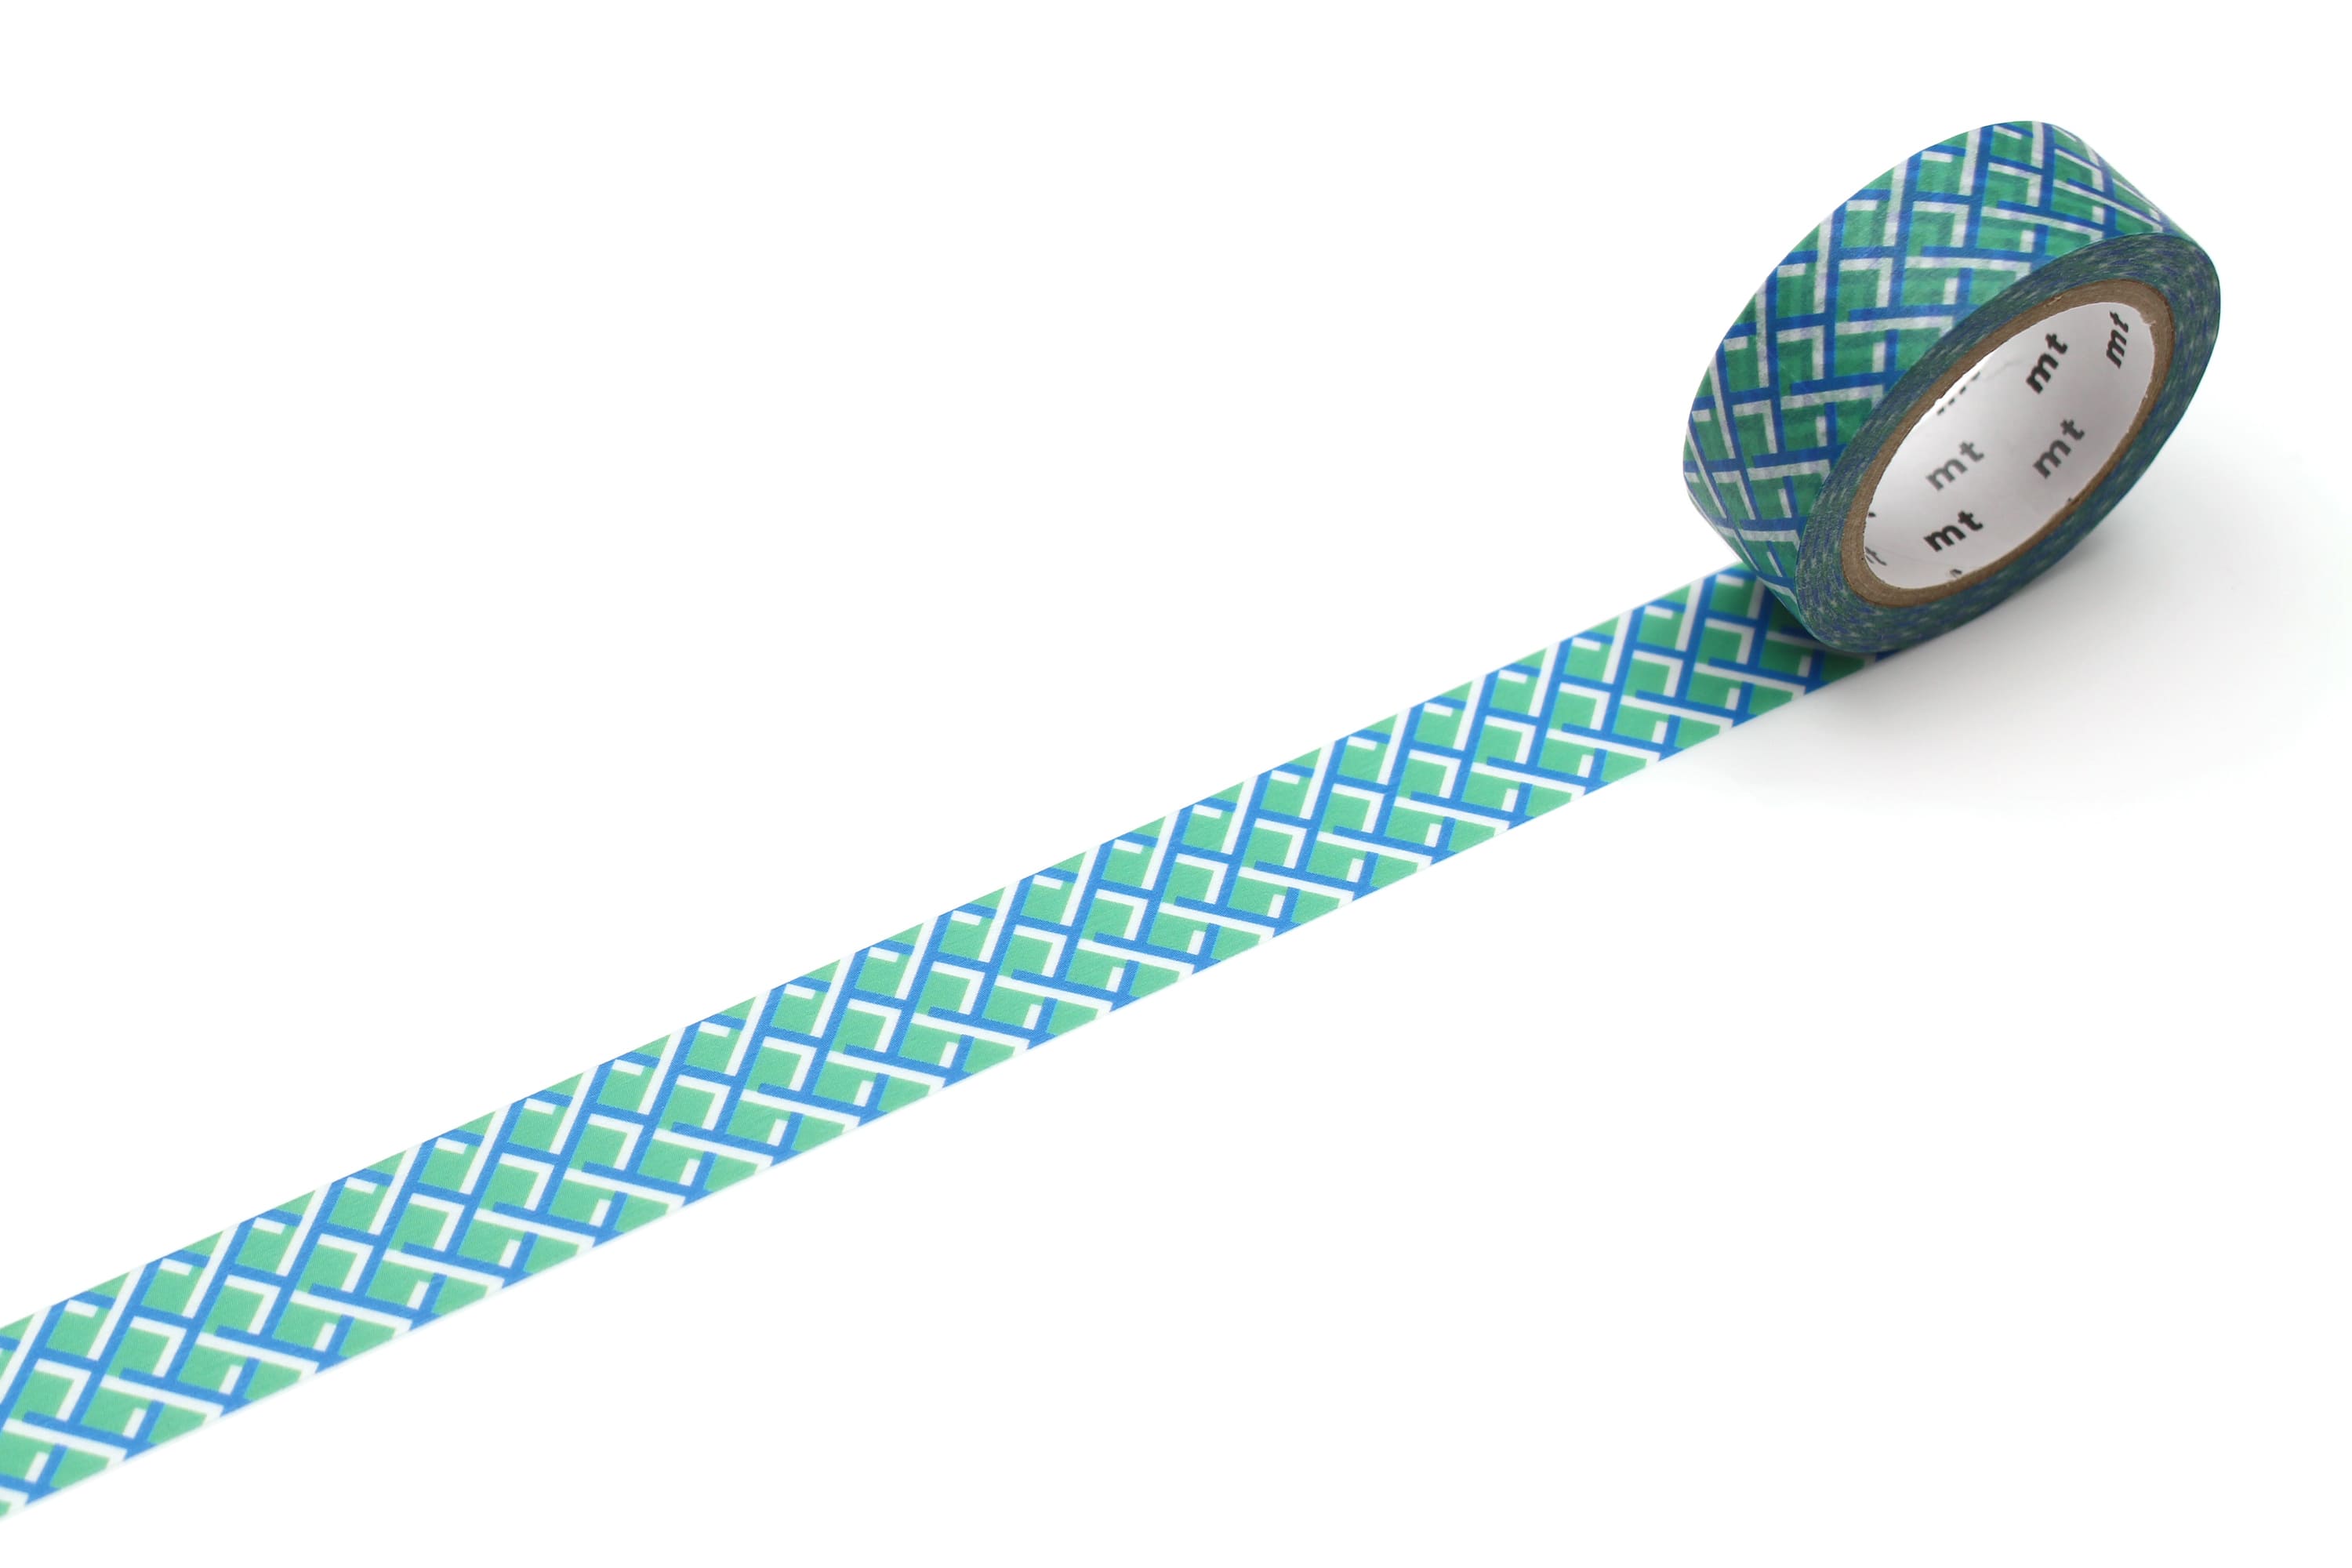
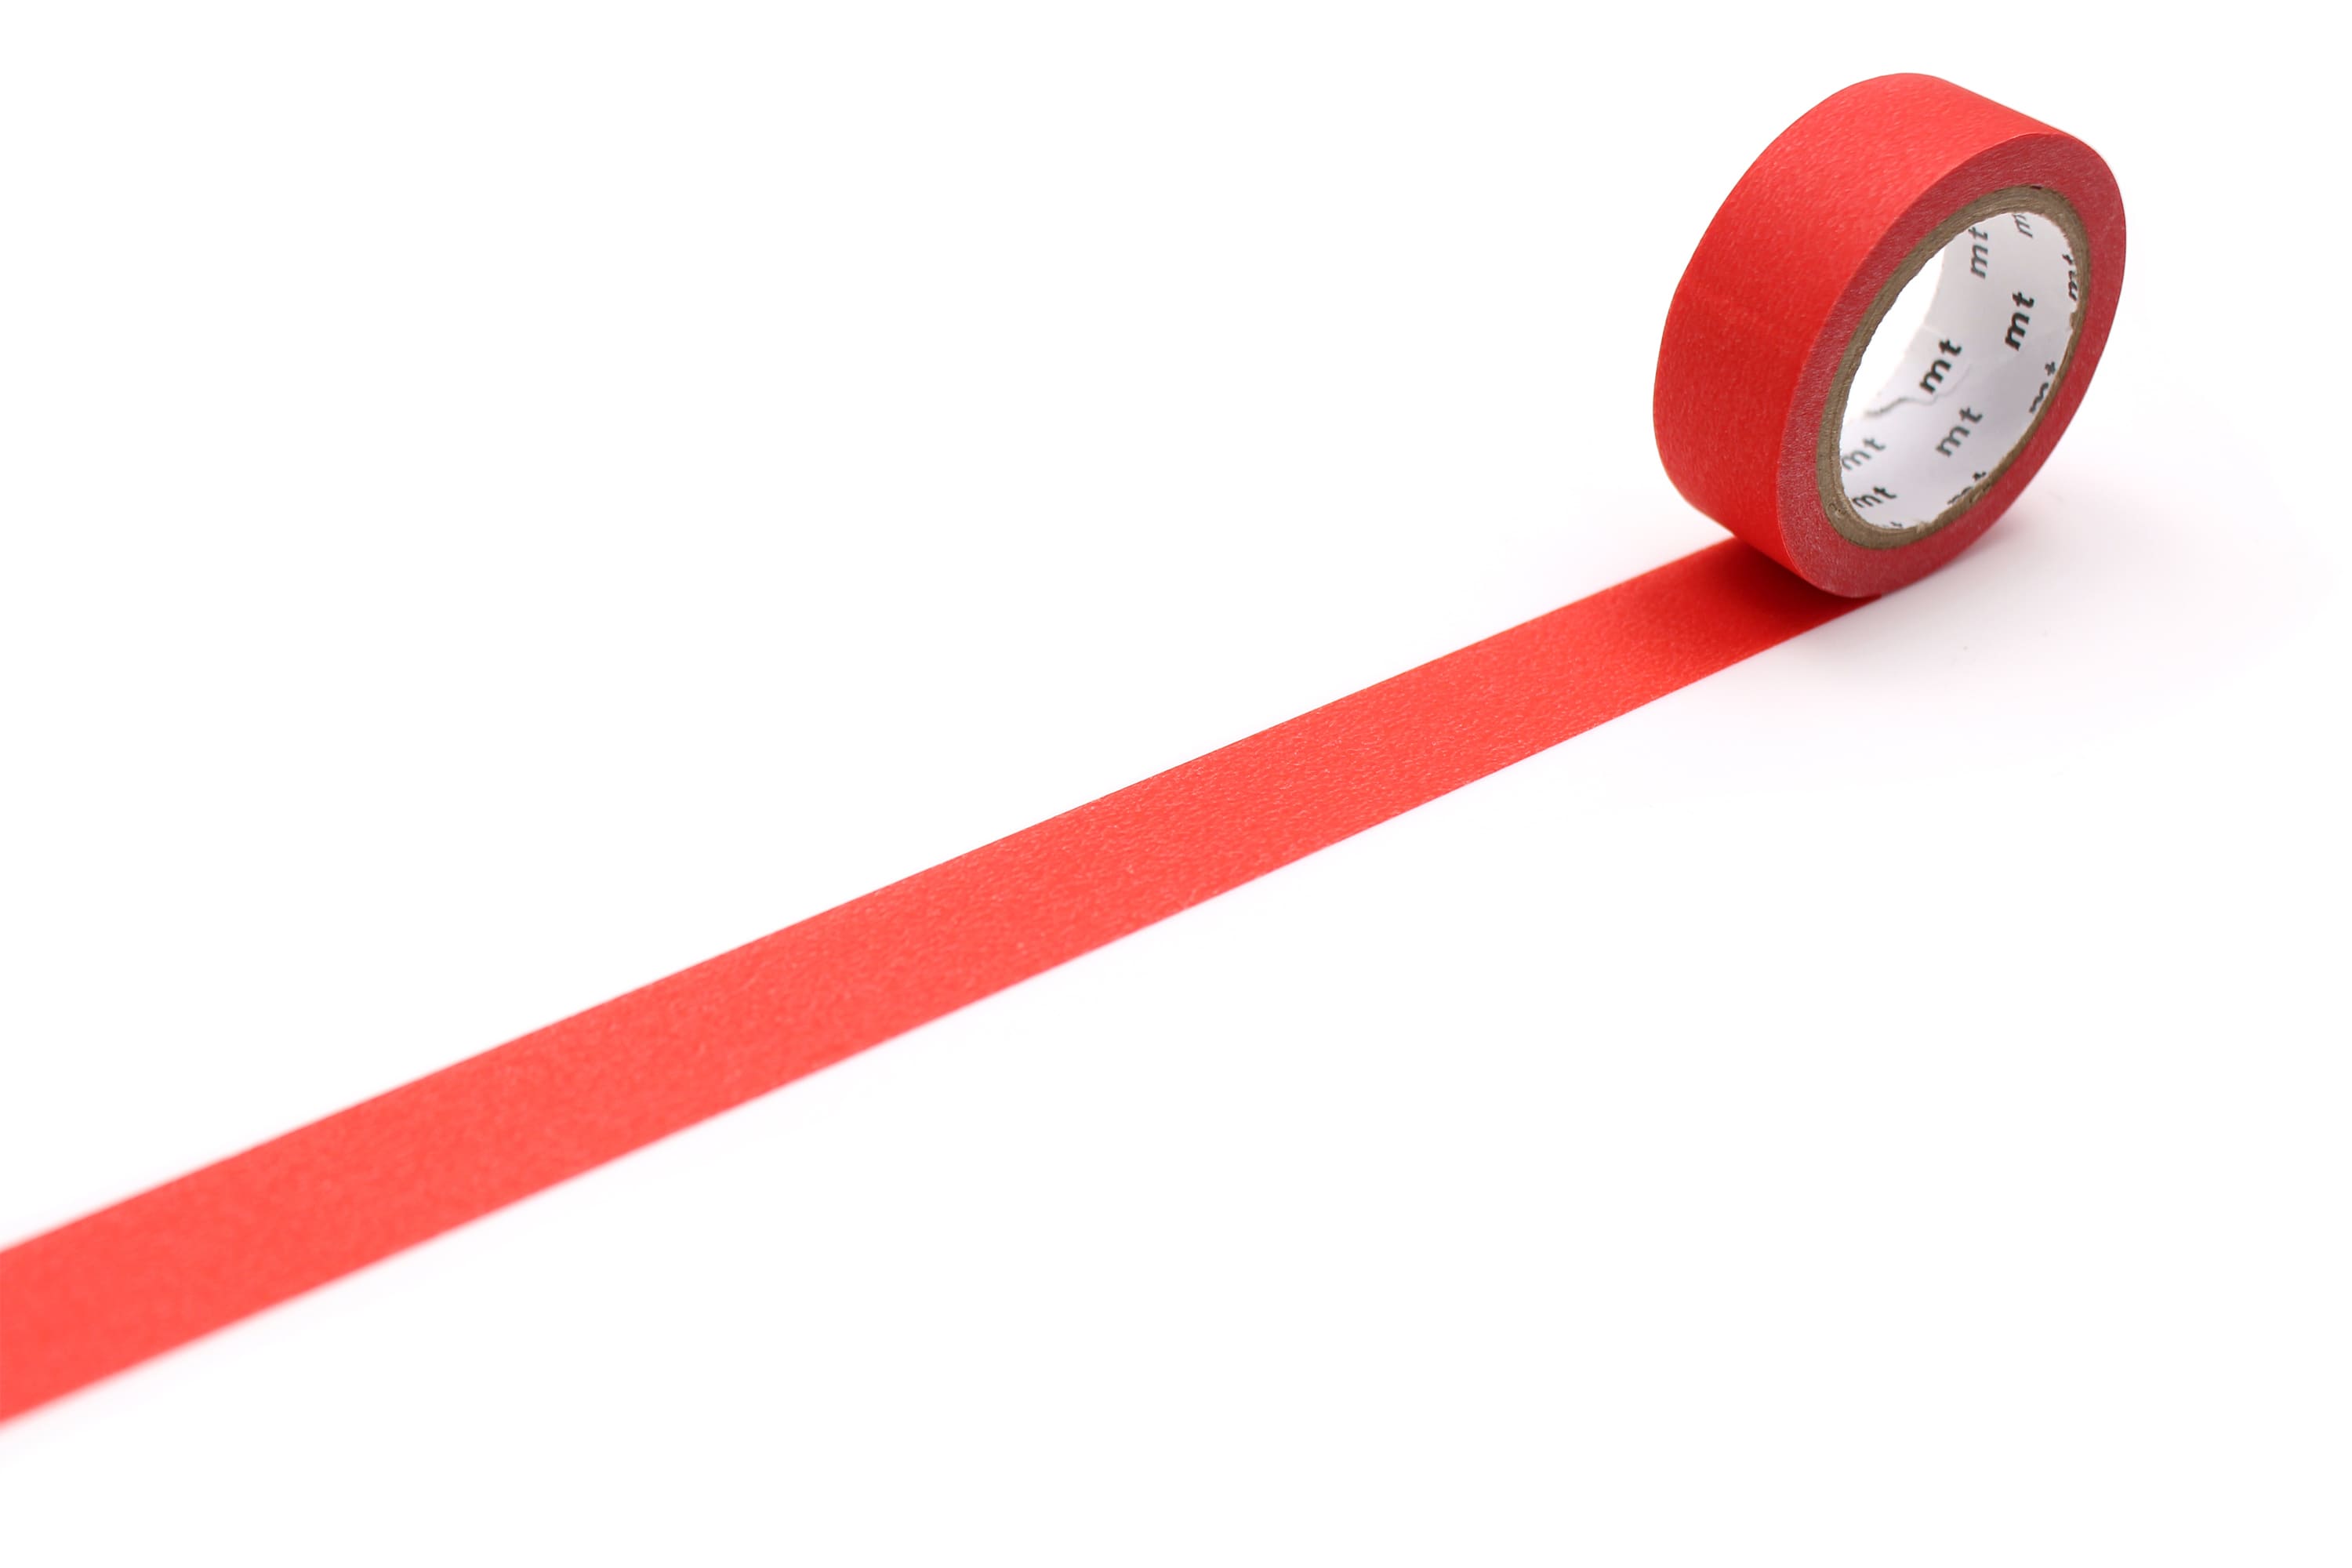
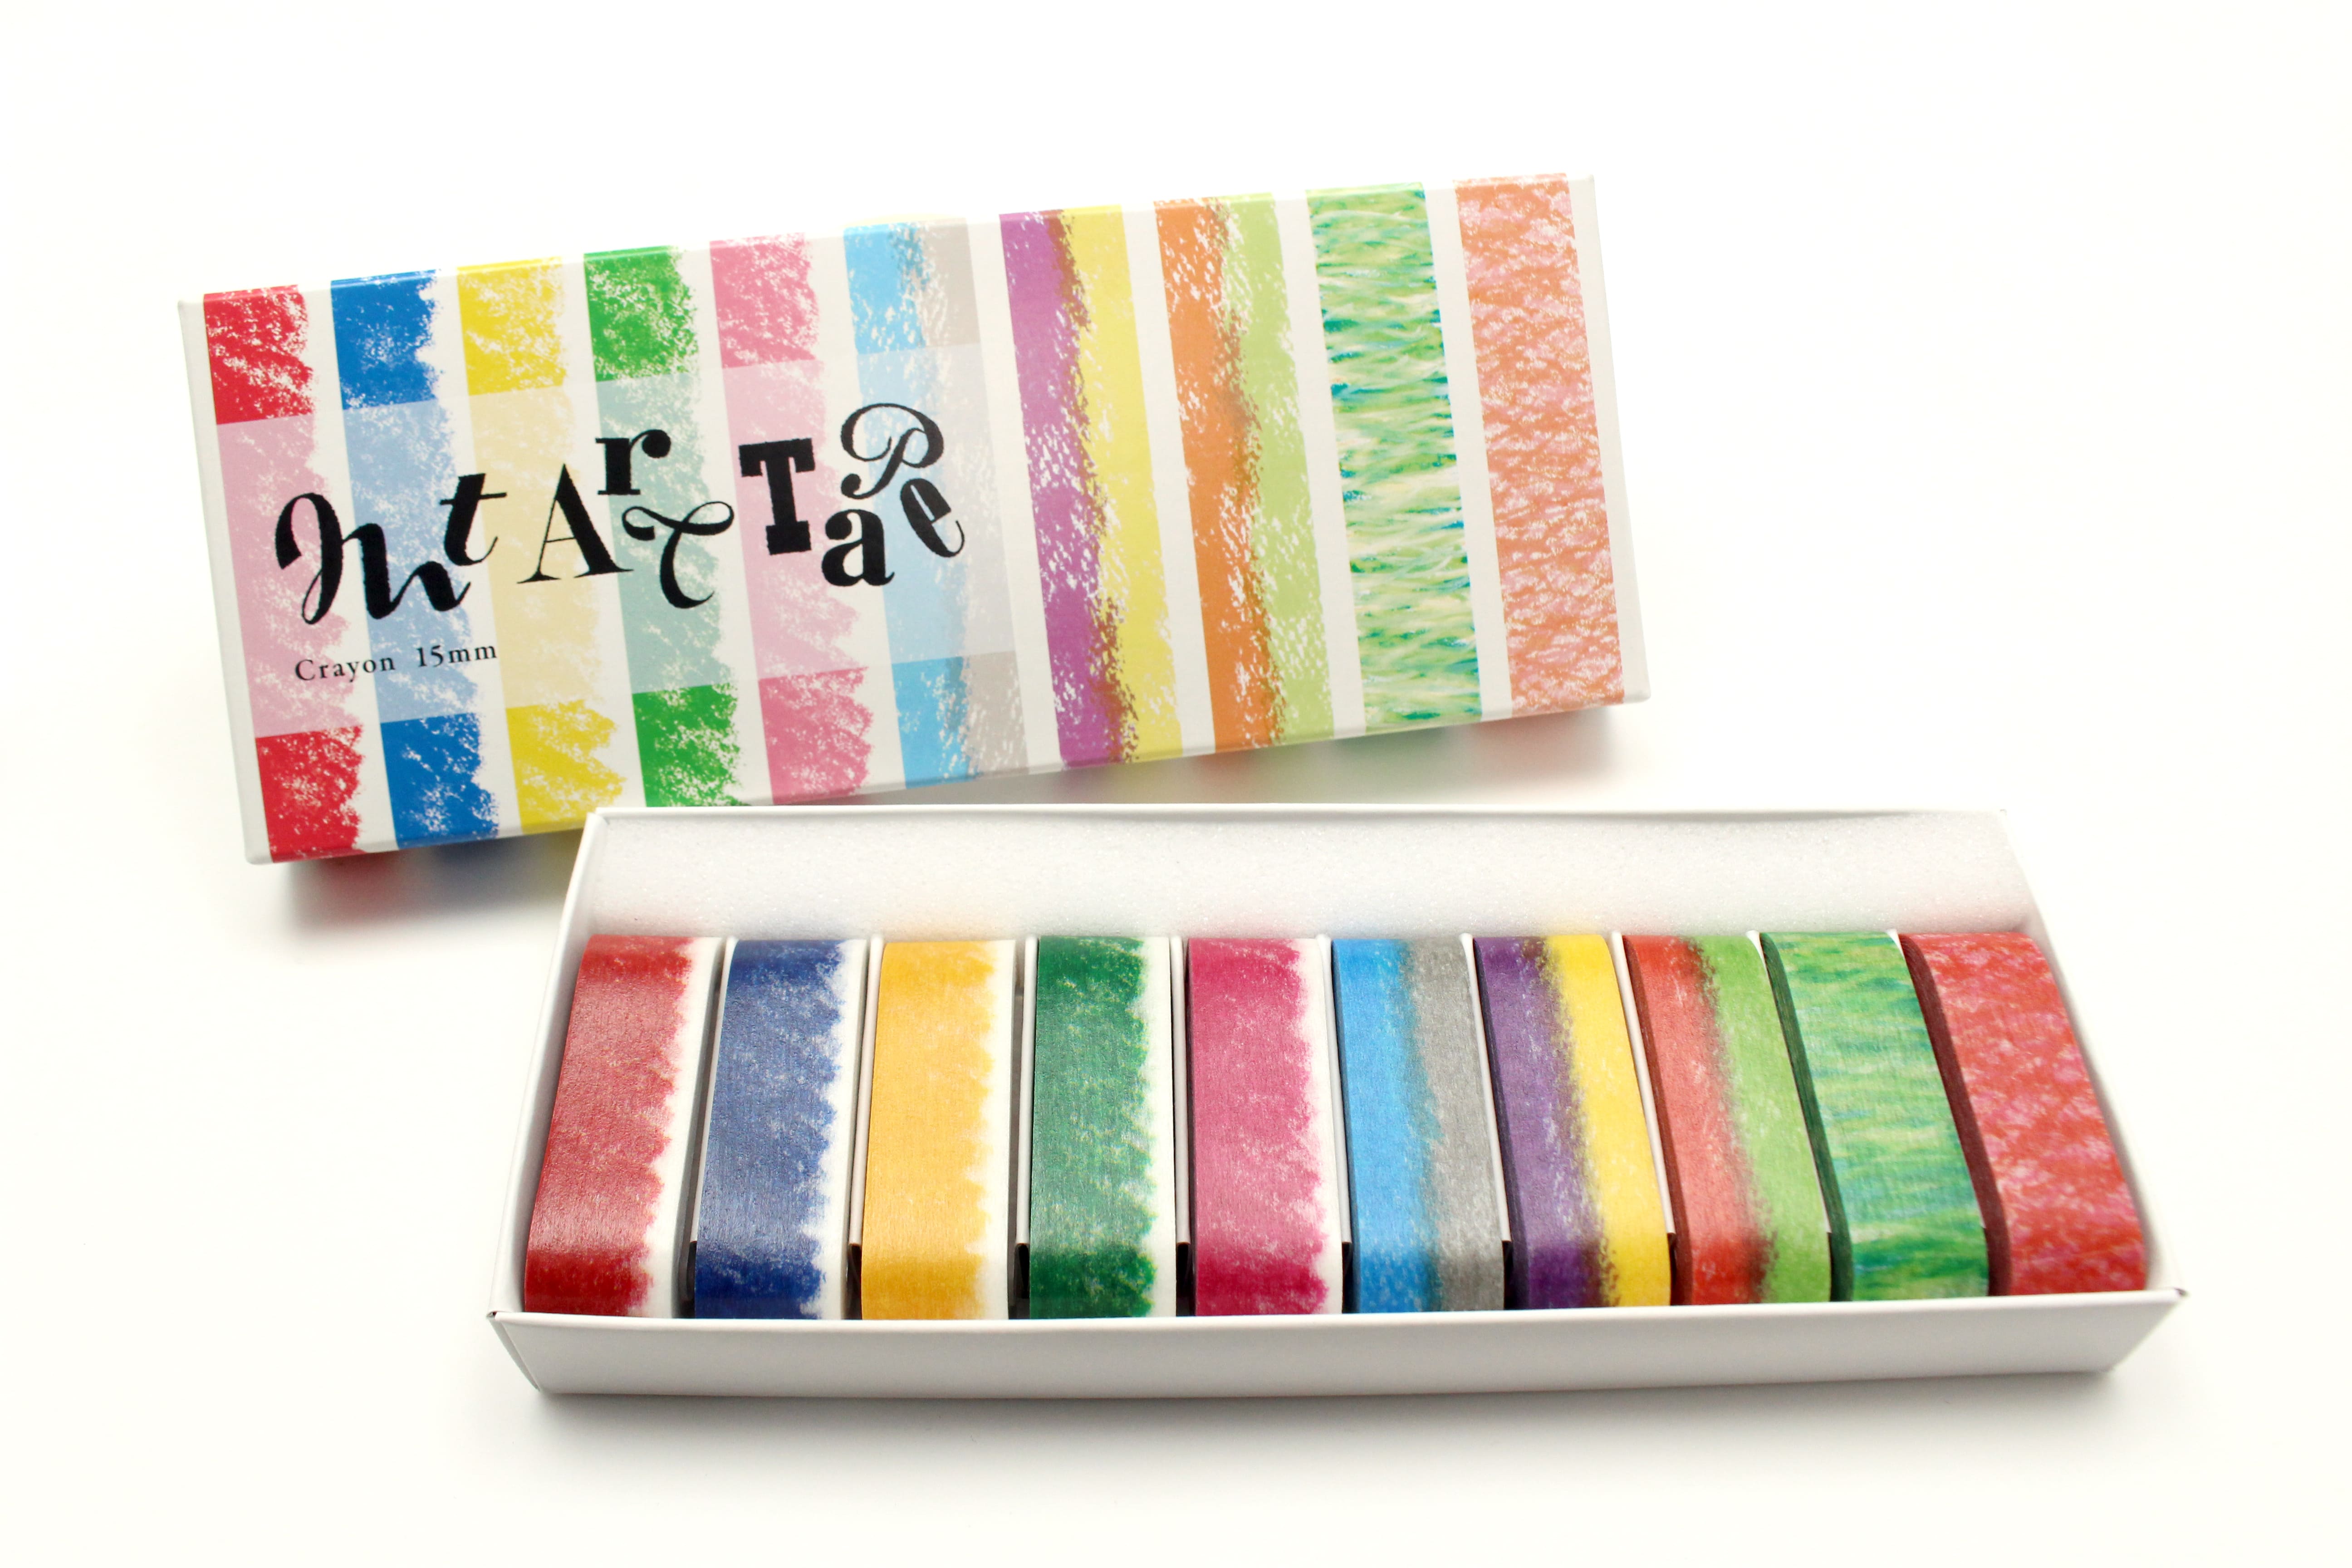
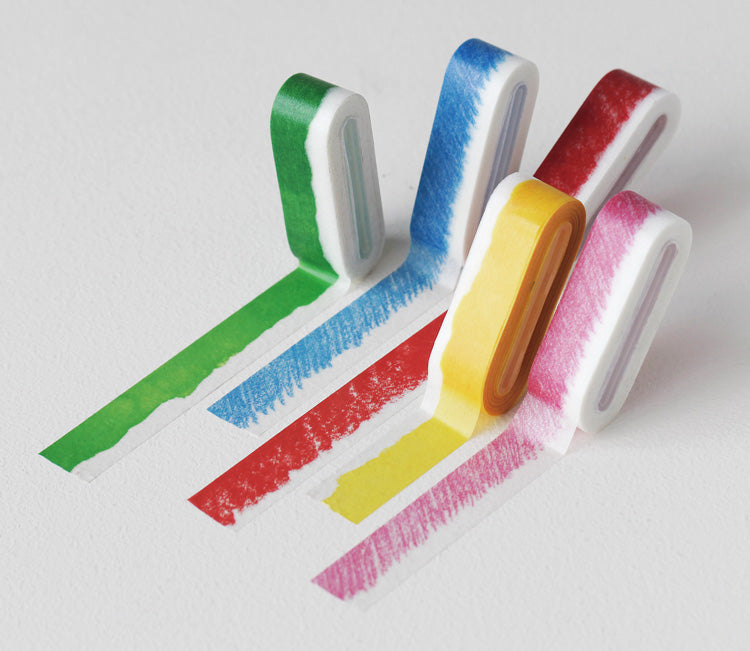
● Various patterns and colours of mt tape
● Sheets of thin card stock
● Cutting mat
● Craft knife
● Scissors
● Glue stick
● Ribbon
● Square shape cutter – optional
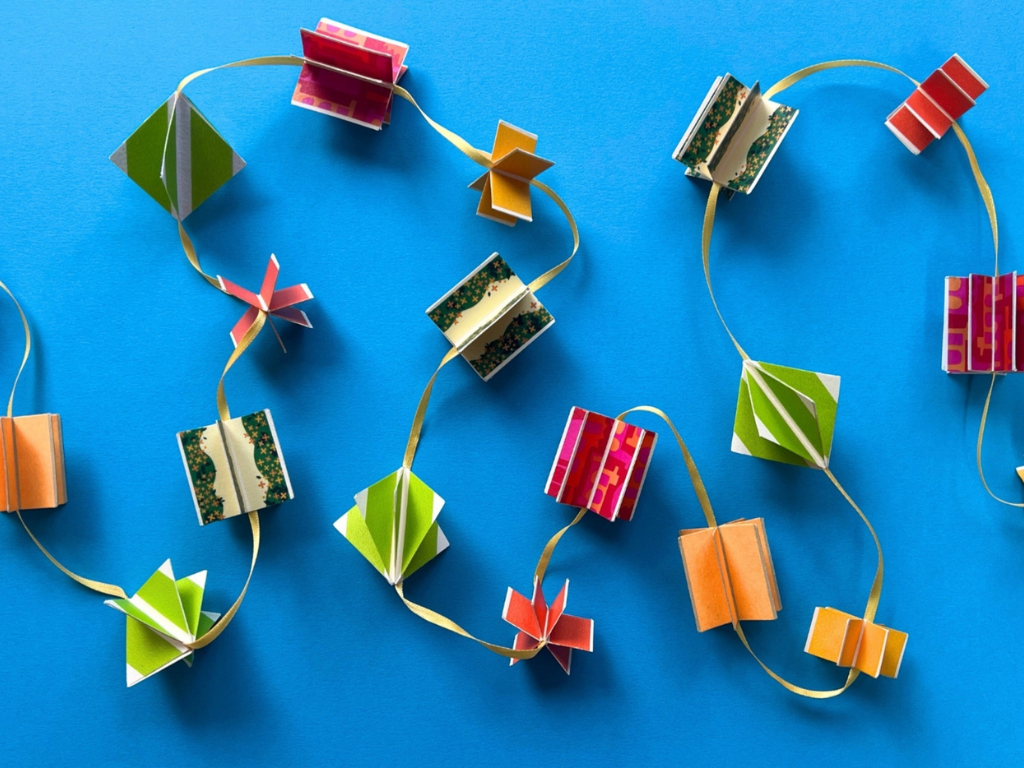
- Use a square shape cutter to create lots of small squares. Alternatively you can use a ruler, pencil and scissors to cut your squares by hand. Fold some of your squares in half so the straight edge meets, and fold others diagonally. You’ll need six squares for each decoration you make and roughly 20 decorations to make a garland.

- Next add two strips of mt tape to each of your squares. Use a range of bright colours and patterns. Use a craft knife to ensure the edges are nice and neat.

- Now you can start glueing your squares together. Apply glue to one side of your folded square and add another folded square to it so the folded edges sit side by side. Once you’ve added all of your squares, you’ll have something that looks like the image above. Don’t glue the final two sides together at this point– that will come in the next step.

- Add glue to the final two sides before placing your ribbon in between the two halves and closing your decoration over it.

- Evenly space your other decorations and repeat until you’ve created a whole garland, leaving a small length of ribbon at each end so you can hang it up.


