As Easter approaches, it's time to bring out your creativity and add some festive charm to your home with DIY Easter egg decorations. This simple and enjoyable craft project is perfect for all ages and requires just a few materials!
In this guide, Eloisa will take us through the steps to create delightful Easter egg decorations that will brighten up any space.
Gather Your Materials
To get started, you'll need the following supplies:
- Some paper or cardboard
- Scissors
- Your favourite rolls of mt Masking Tape
- Glue
- Threads or ribbons for hanging
- Create your template: Begin by folding your paper sheet in half to create a crease down the centre. On one side of the folded paper, sketch the shape of an egg. Be creative with your designs! Once you're satisfied with your template, carefully cut it out.
- Pick Your Palette: Now comes the fun part – decorating! Choose from your selection of mt Masking Tape to adorn your egg decorations. Whether you prefer bright and bold colours or delicate patterns, let your imagination run wild as you decorate each paper.
Eloisa’s palette:
- Cut the eggs Now trace the egg shape onto the backside of the sheet you just decorated. Repeat this process until you have at least four egg shapes.
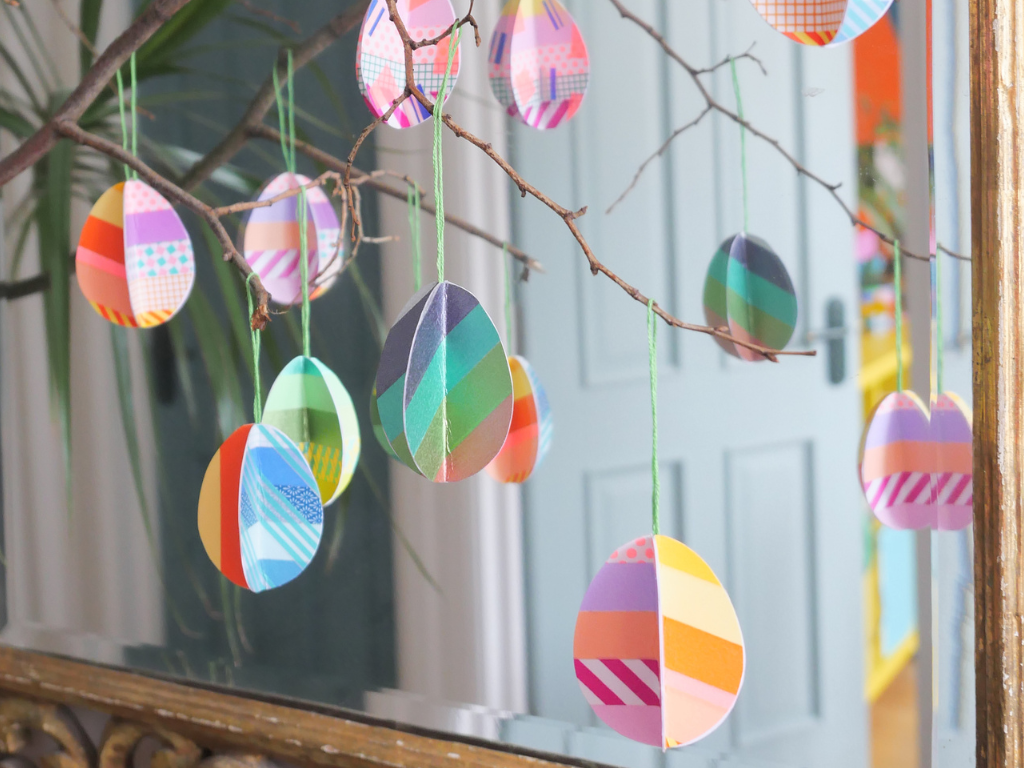
- Glue them together: Fold the eggs in the middle and apply glue along one blank side of each. Place a thread or ribbon between the two shapes, leaving a loop at the top for hanging. Press the edges together firmly to secure the thread in place. Repeat this step with the remaining egg shapes. Once completed, your decorations are ready! Hang them around the house to add a festive touch or use them as clues for an Easter egg hunt!