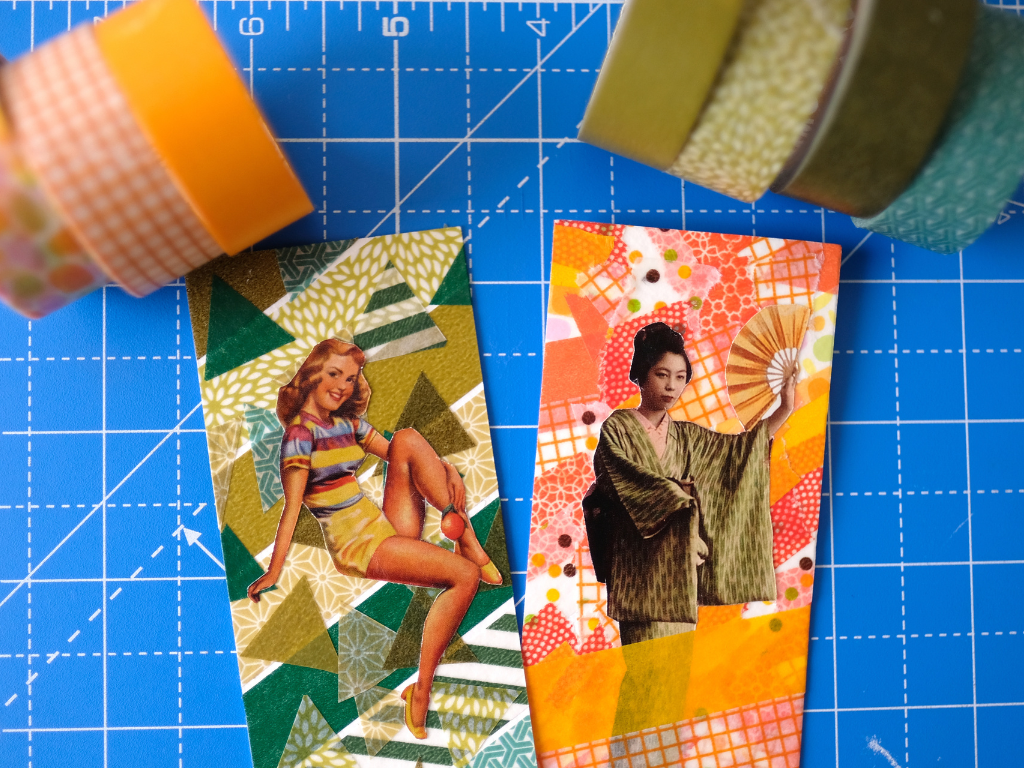
We recently had the pleasure of meeting the talented artist Naomi Vona aka Mariko Koda, who crafted these stunning DIY bookmark designs using mt Masking Tape. In this blog post we will show you how you can create your own bookmarks in her signature style!

Step 1: Decide on Your Colour Palette and Imagery
Start by choosing a colour palette that suits your style. You can opt for warm tones, cool shades, or anything in between. If you’d like to personalise your bookmark even further, consider adding characters or elements from your favourite book to make it truly unique. Once you’ve settled on your colours and theme, you’ll be ready to begin!

Step 2: Apply the mt Washi Tape to Your Bookmark
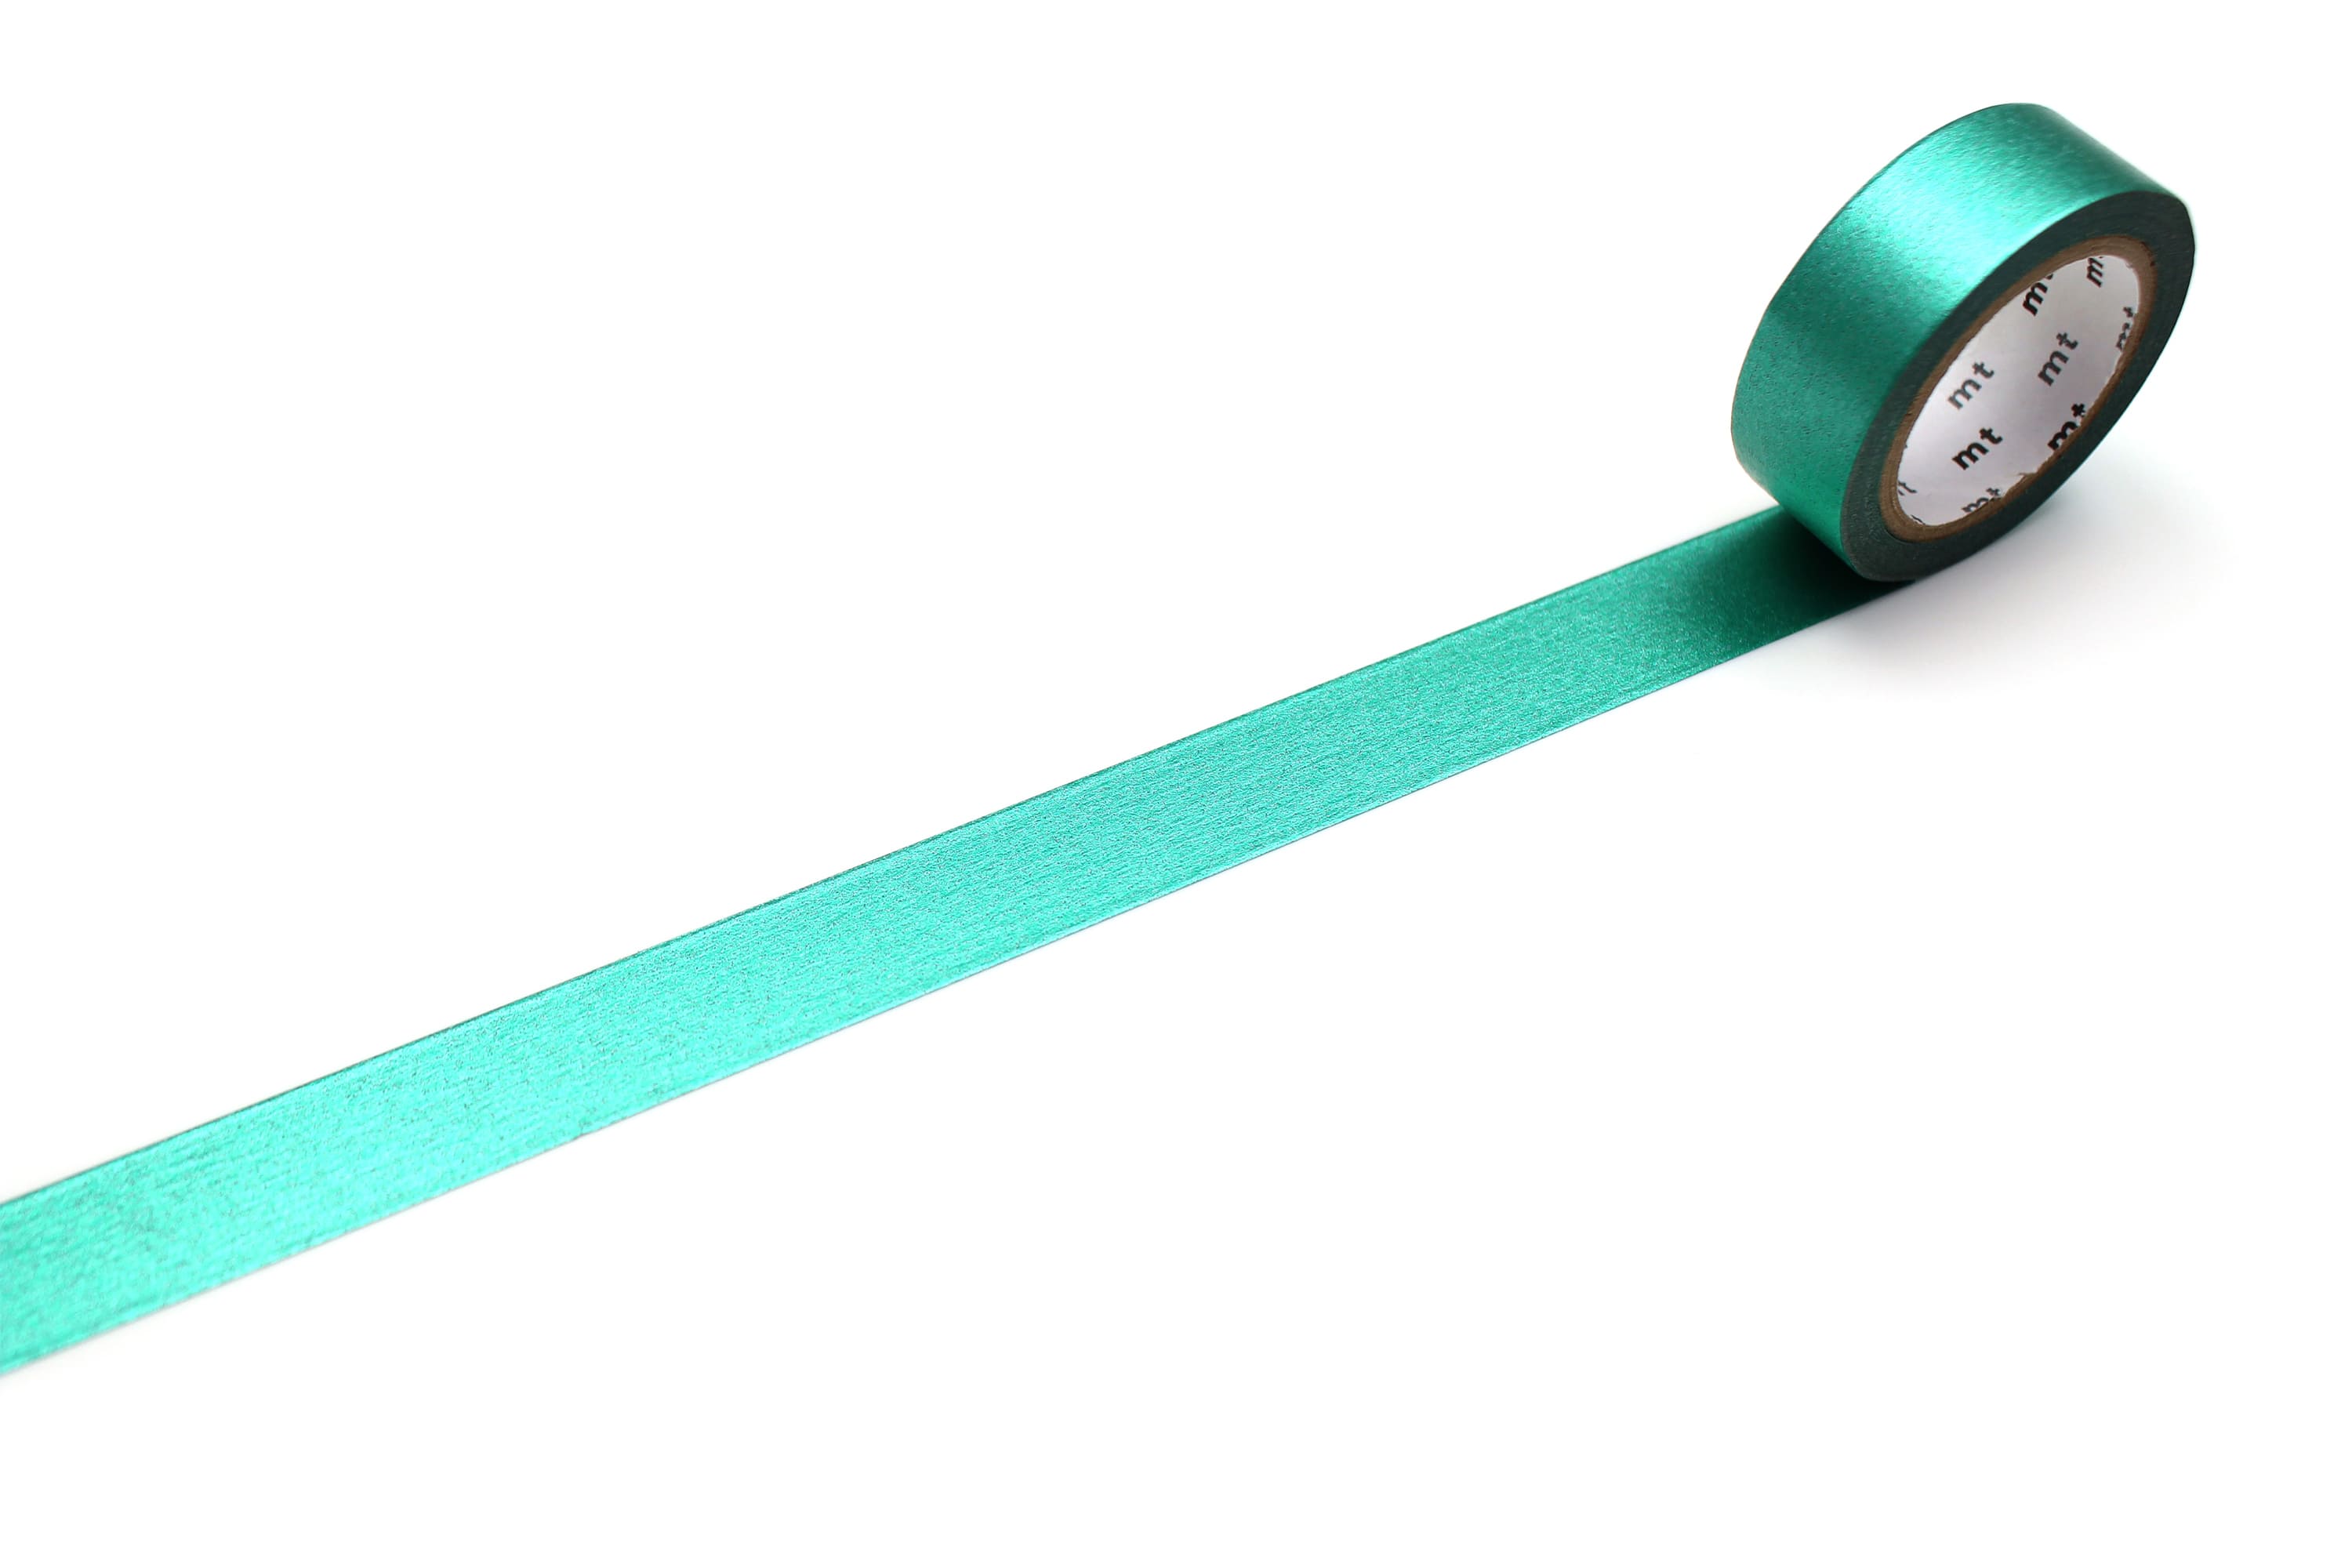
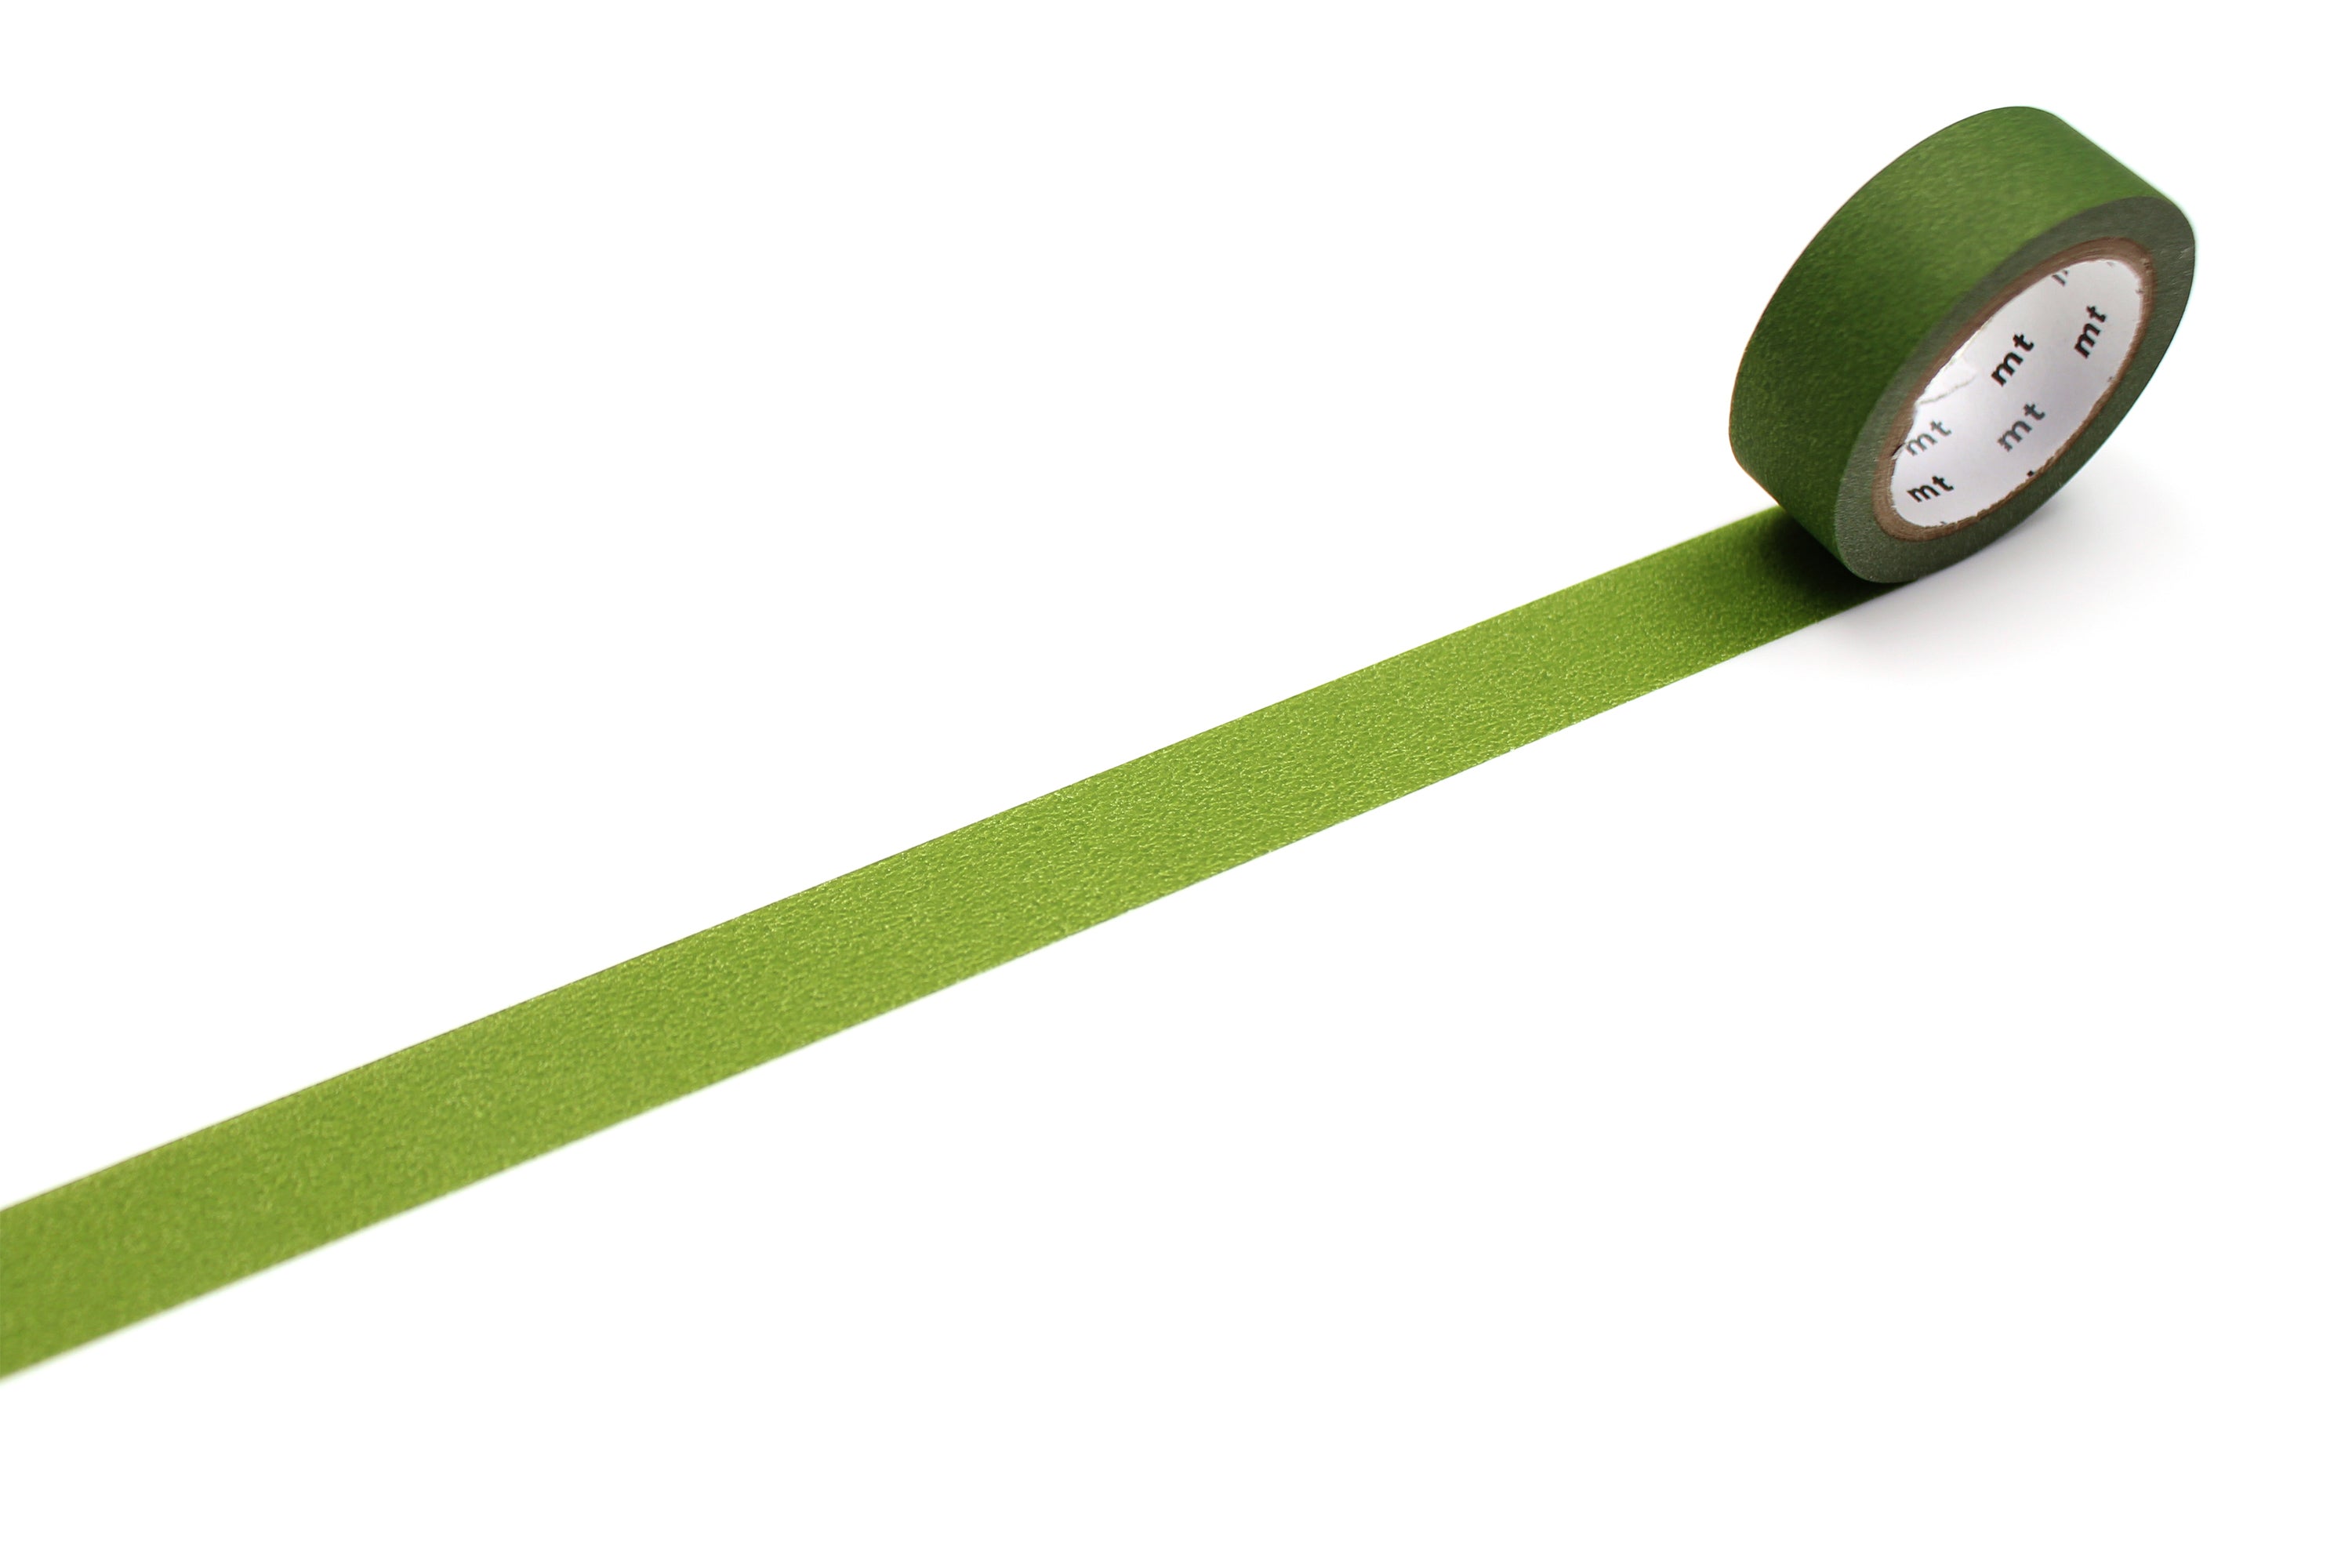
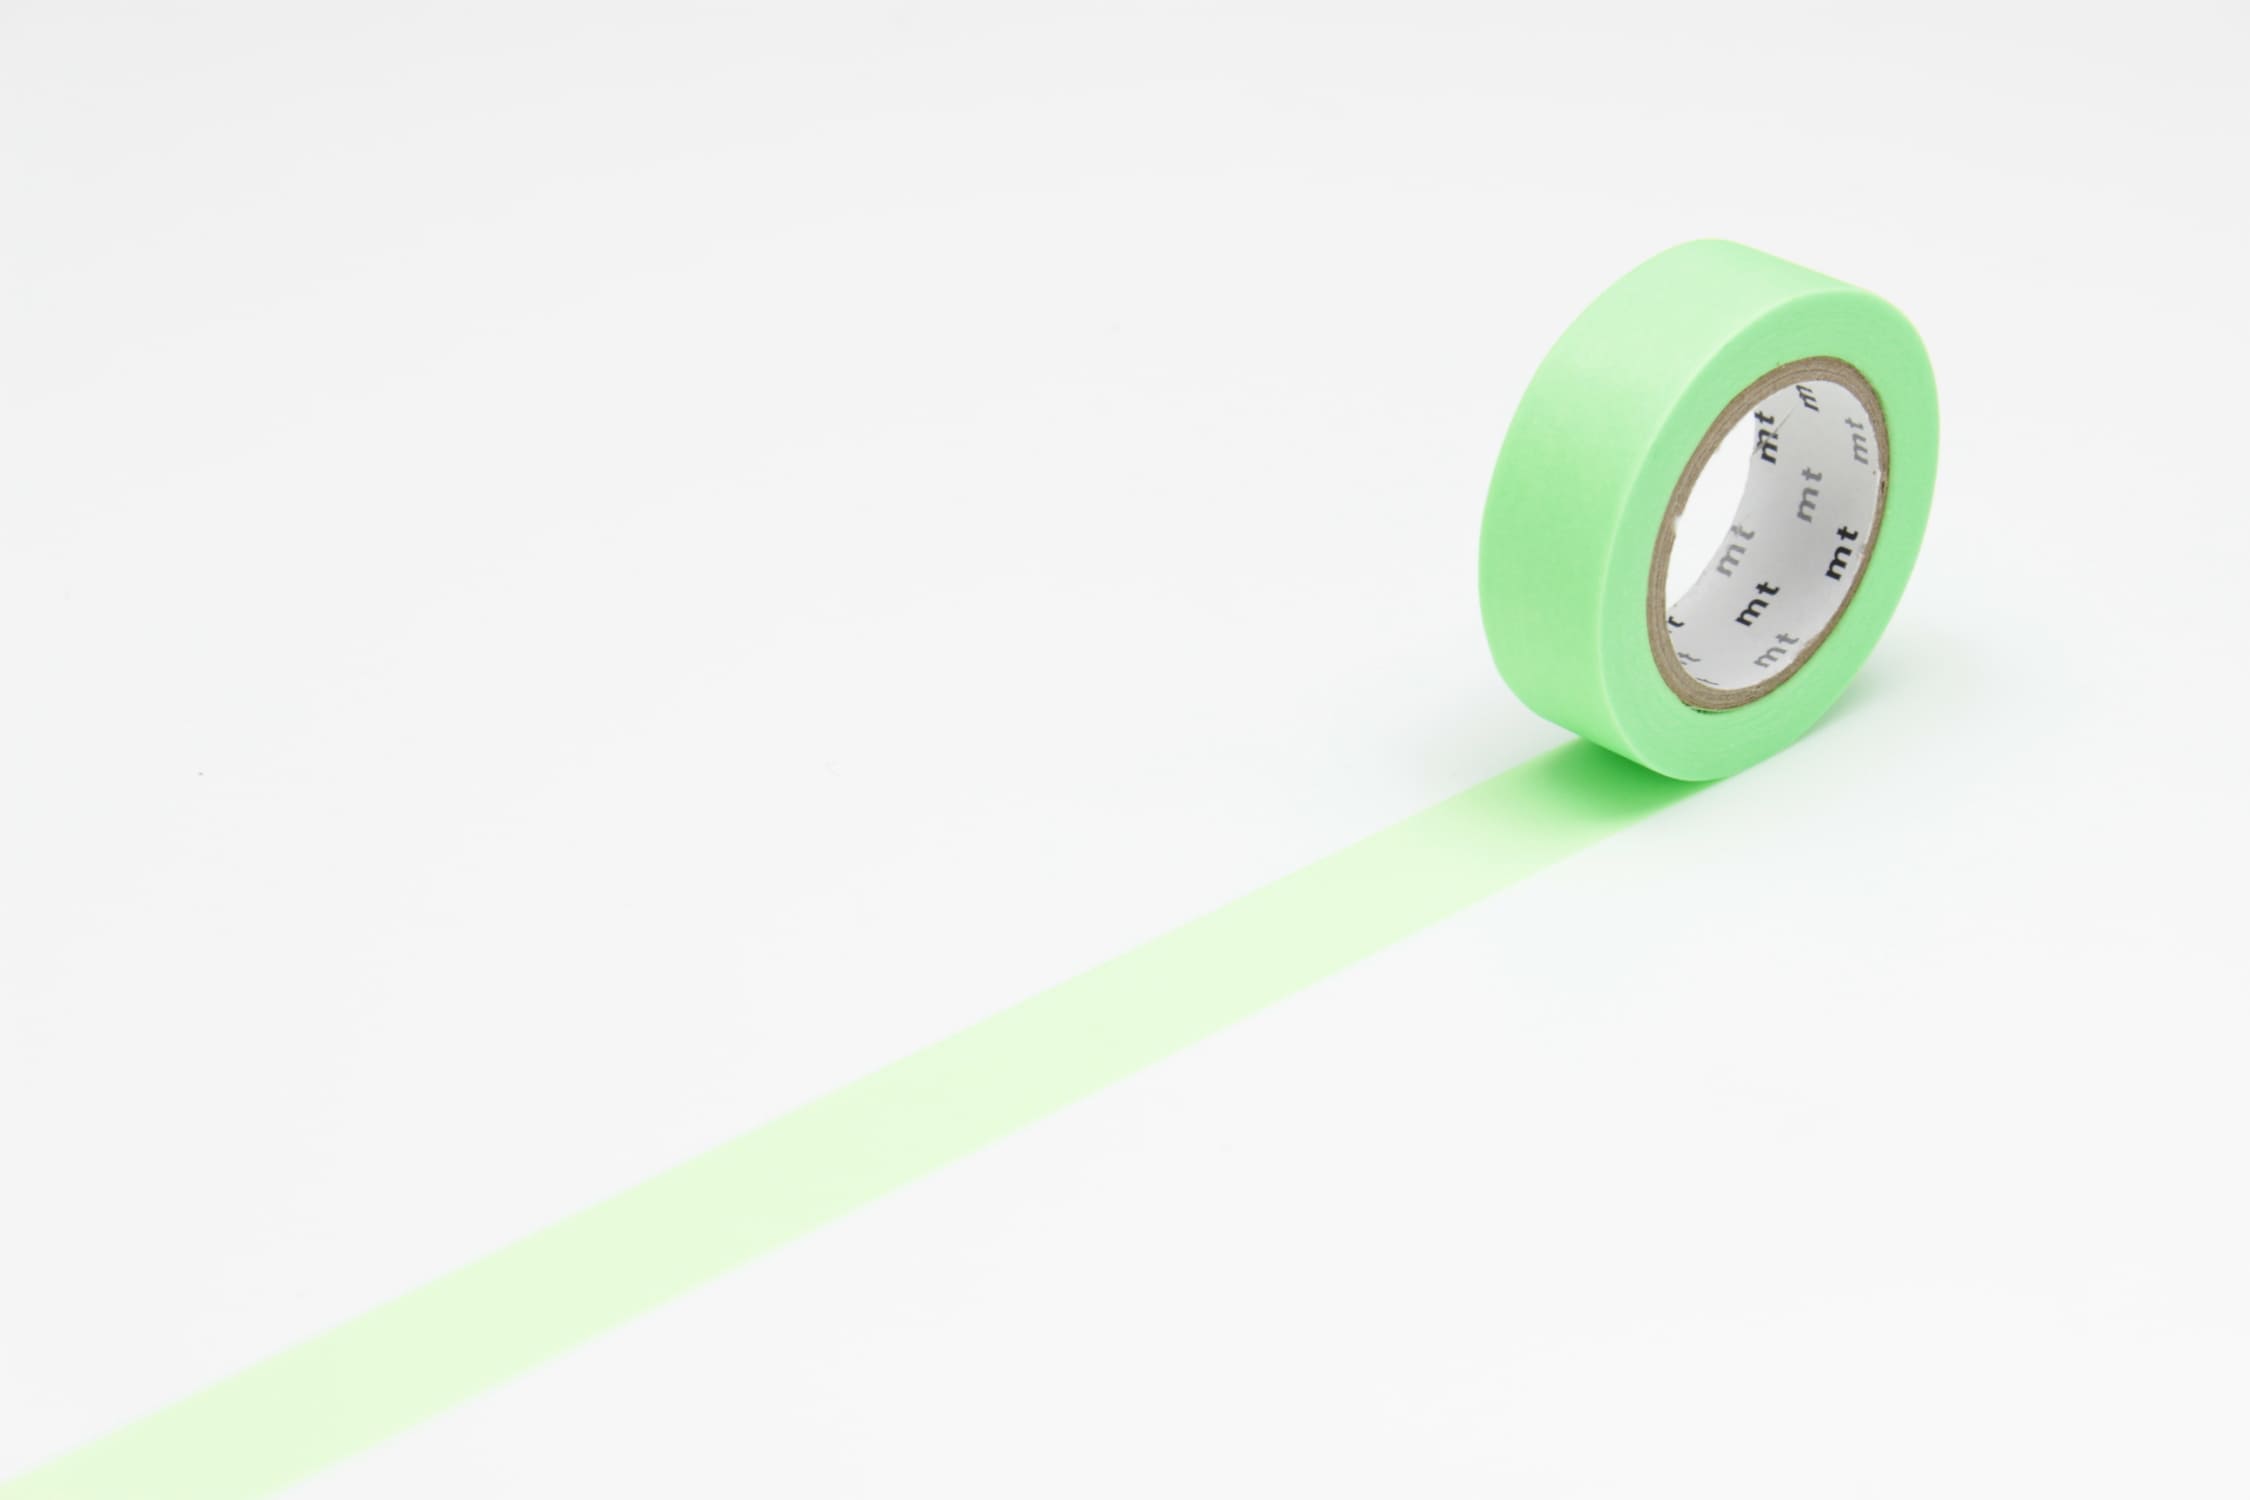
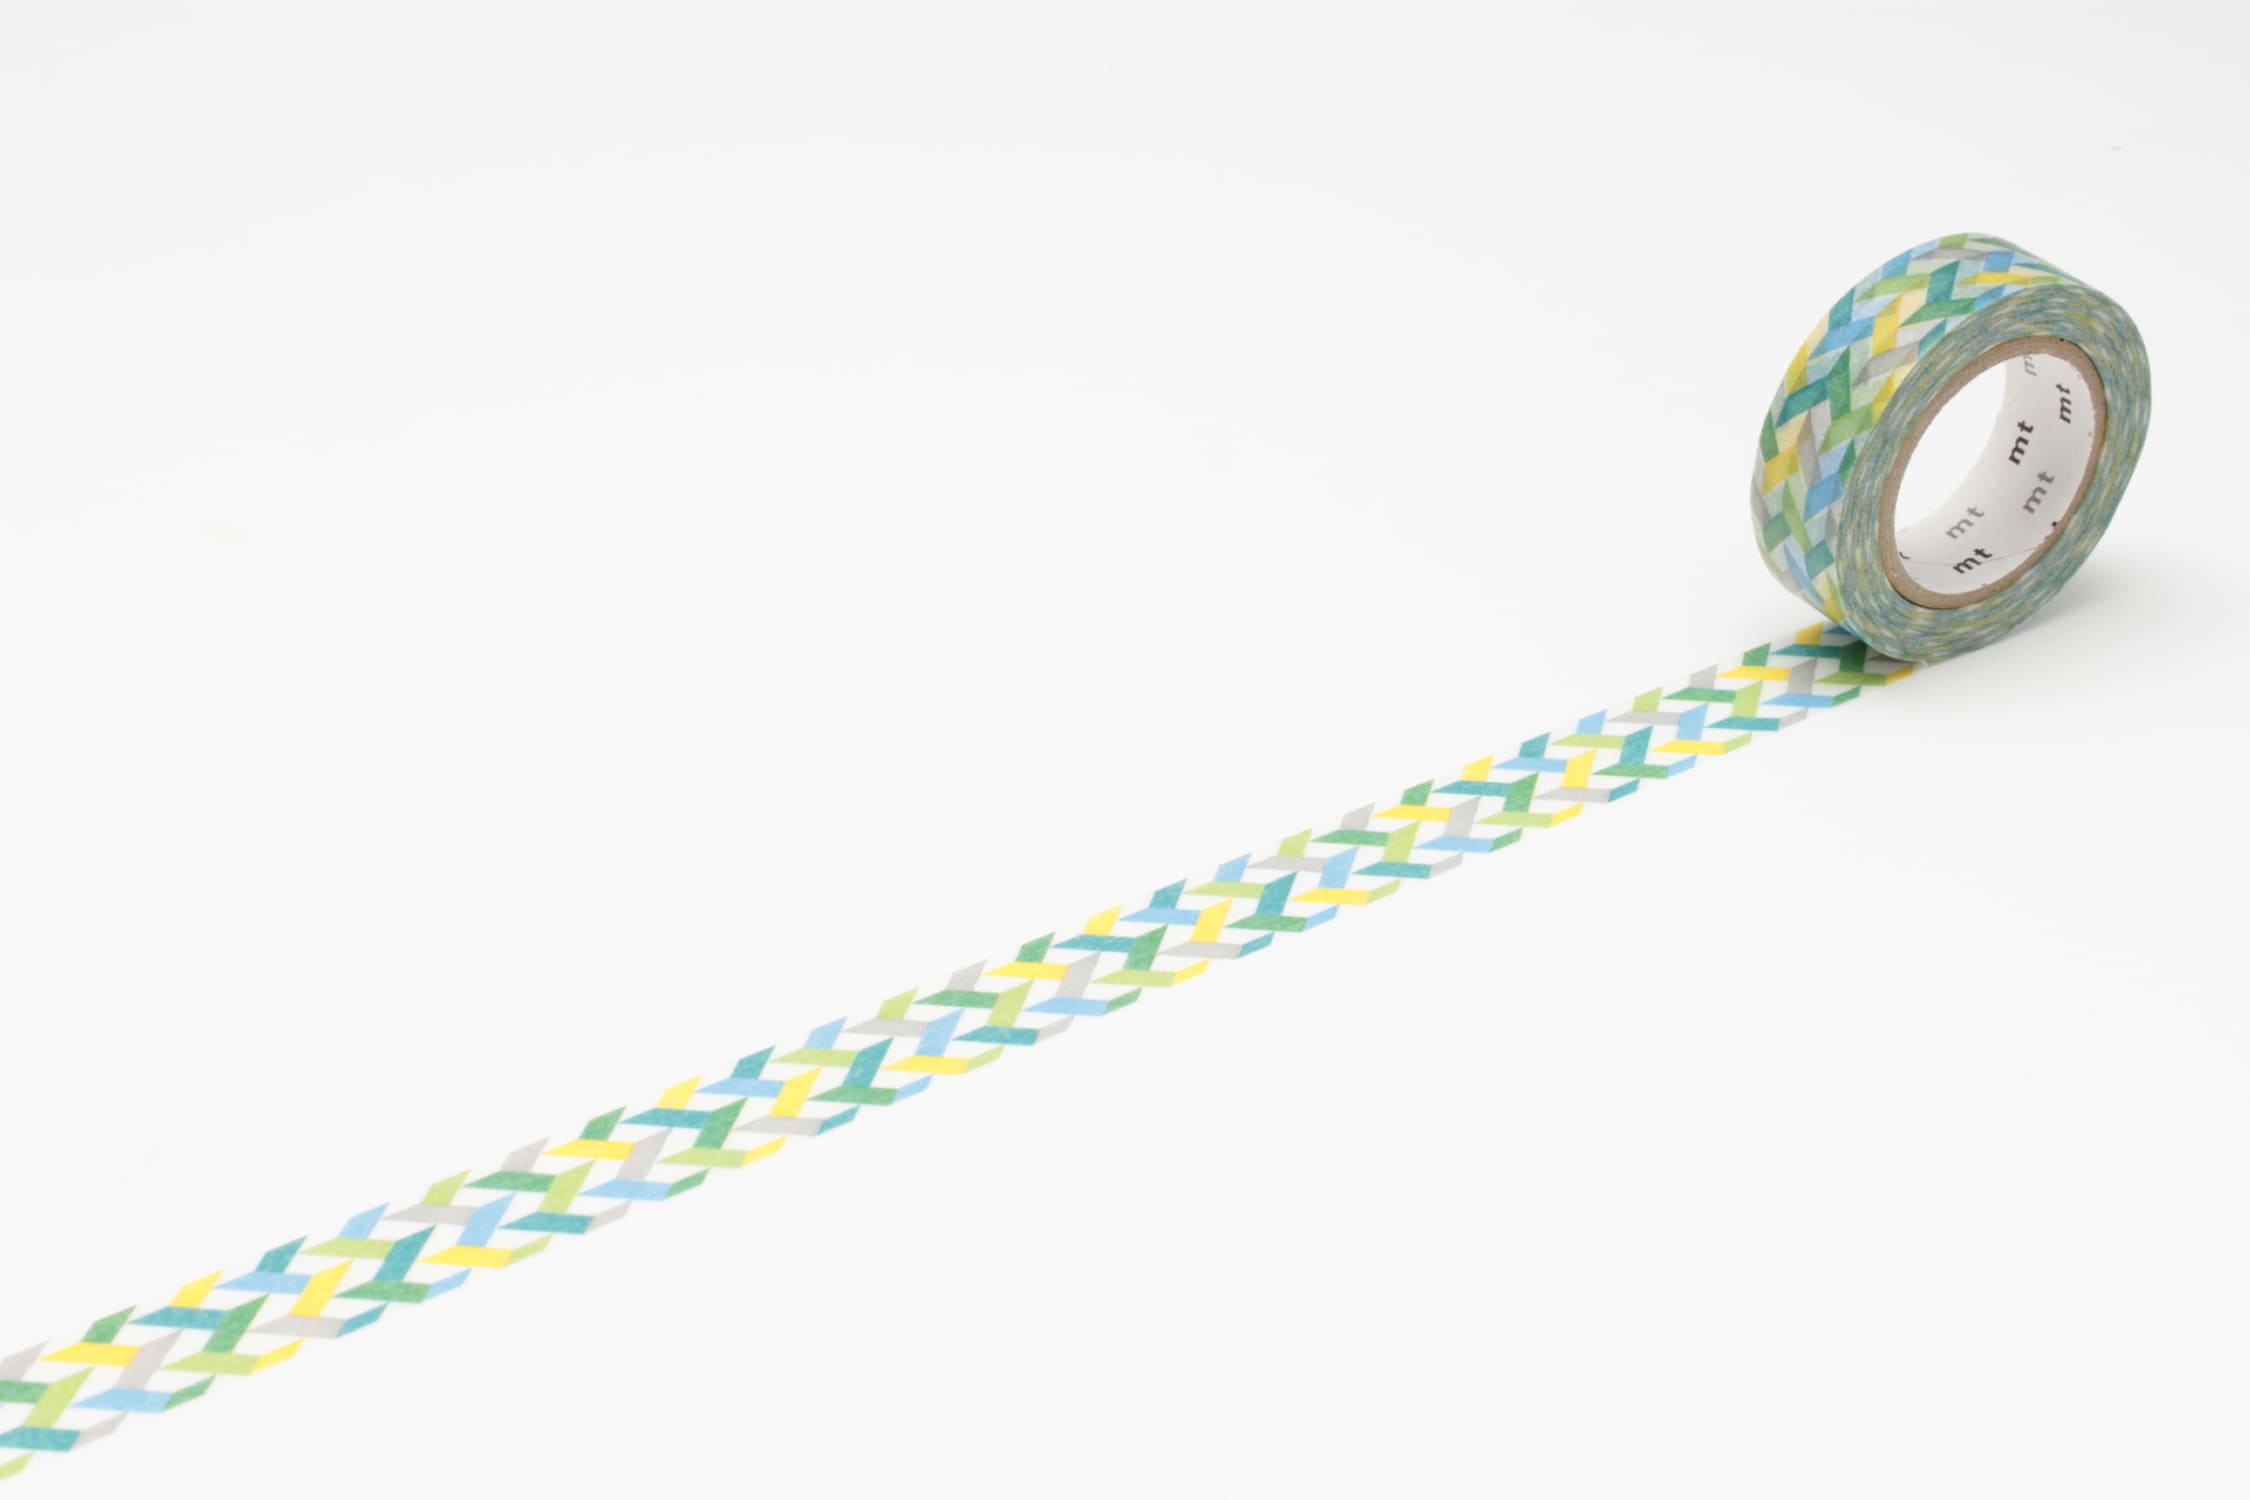
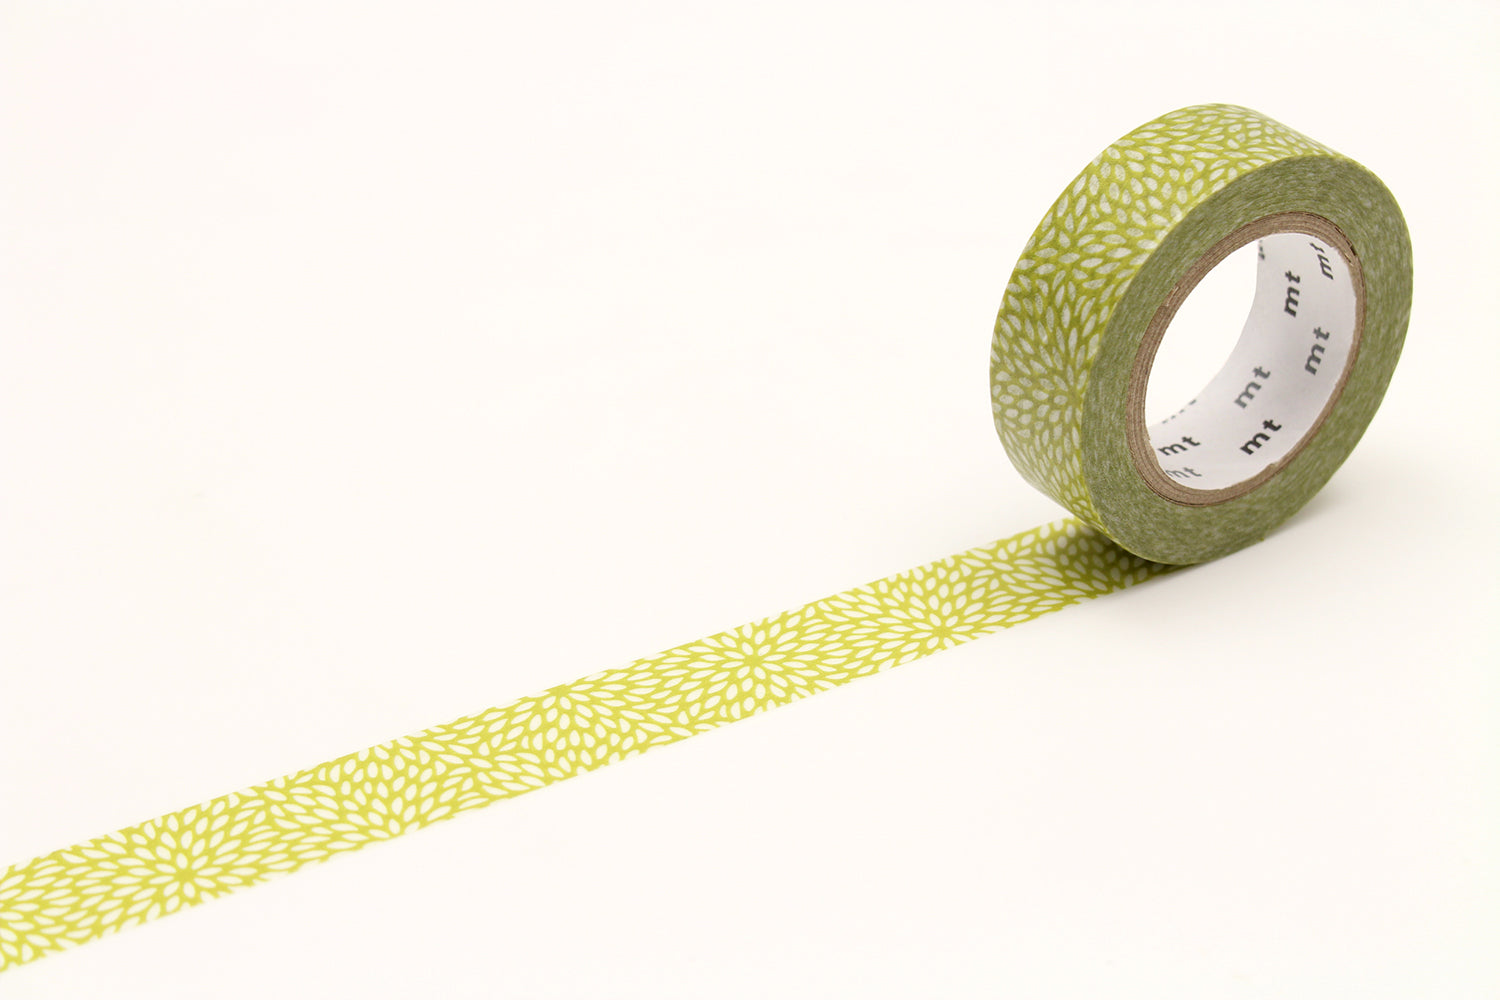
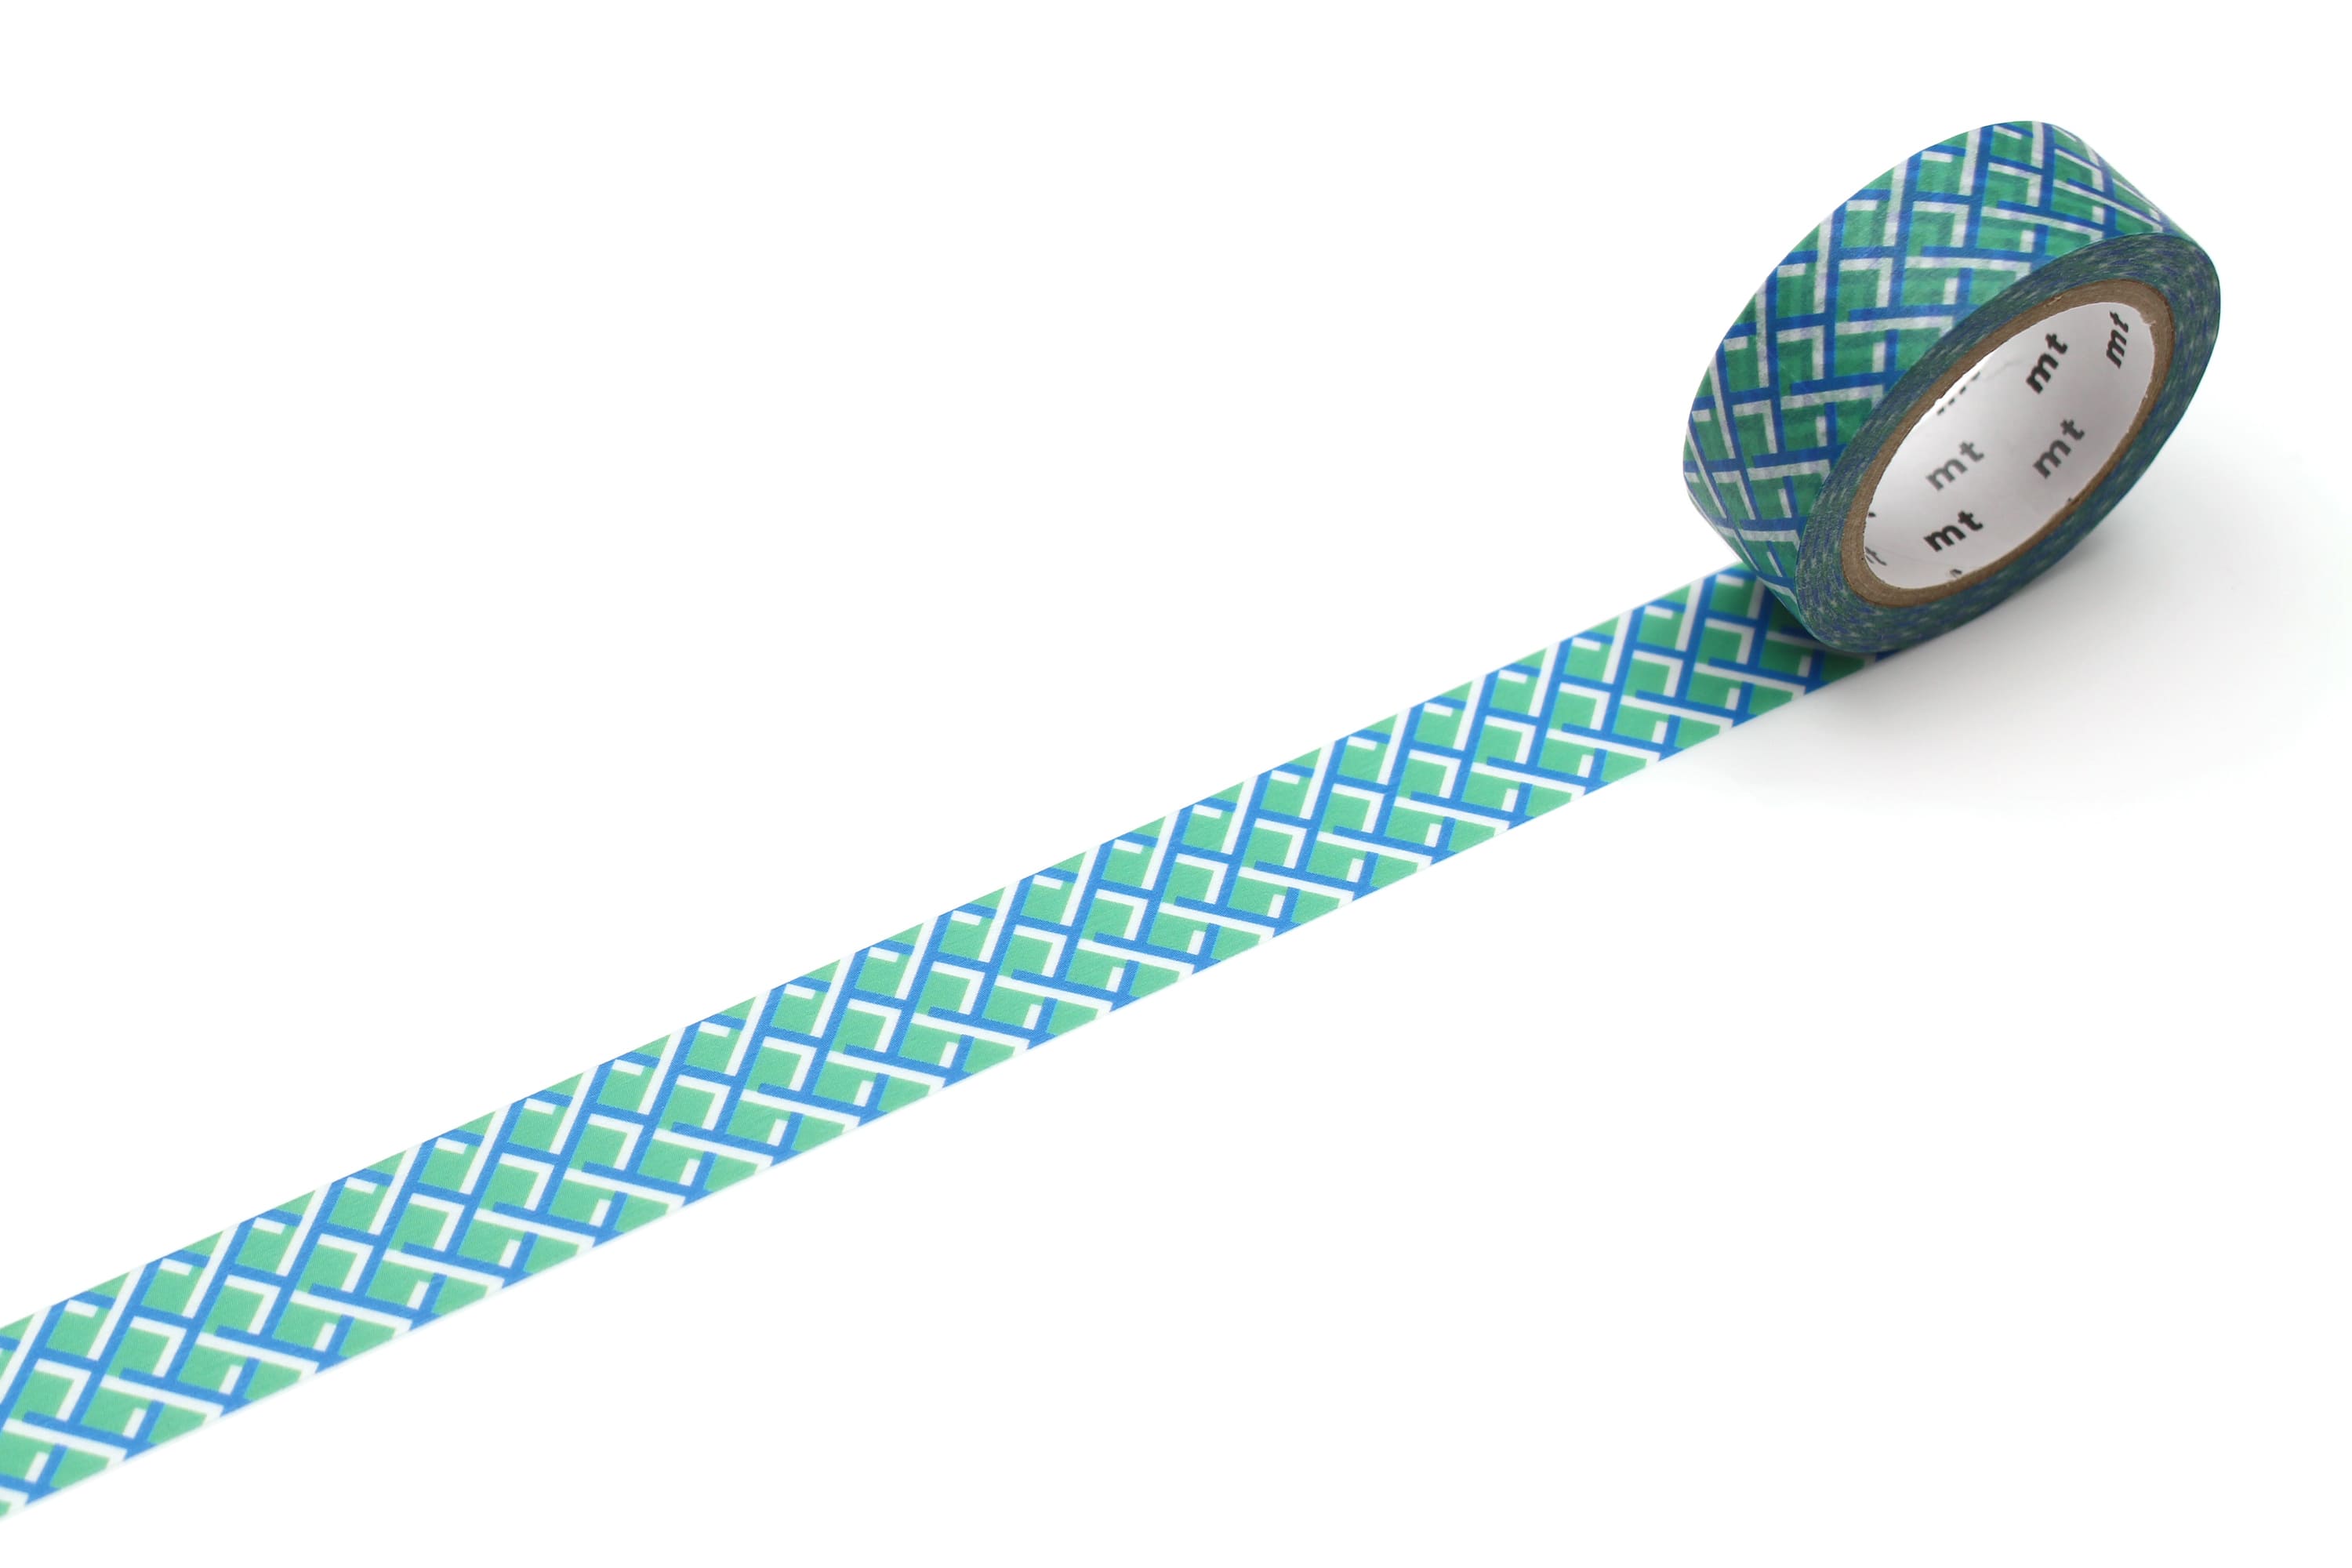
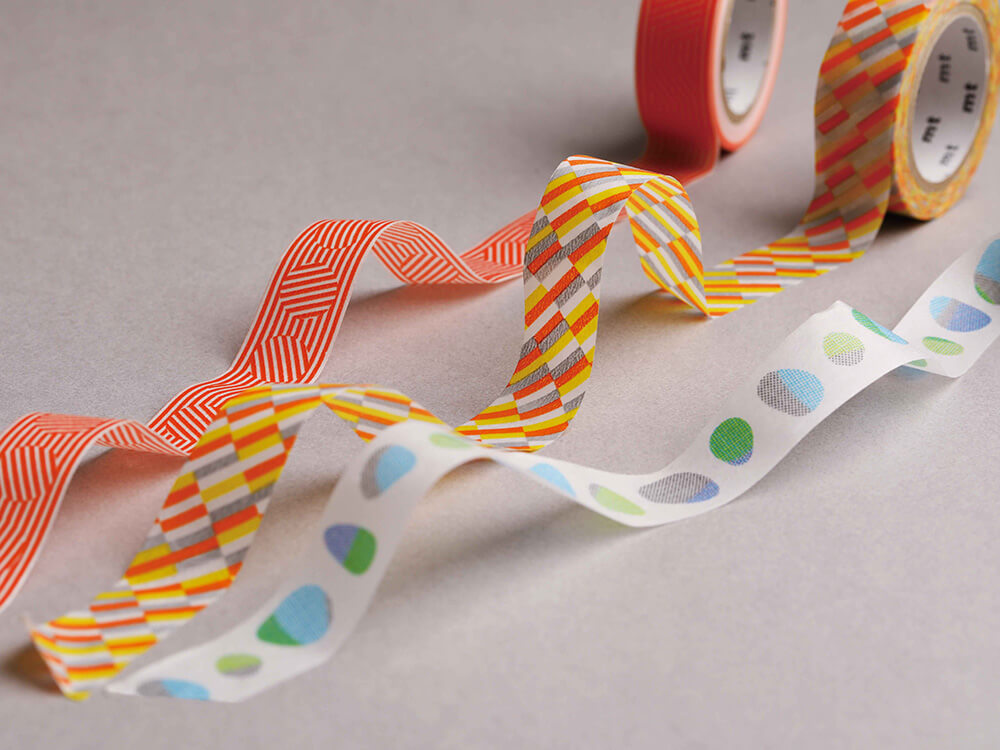
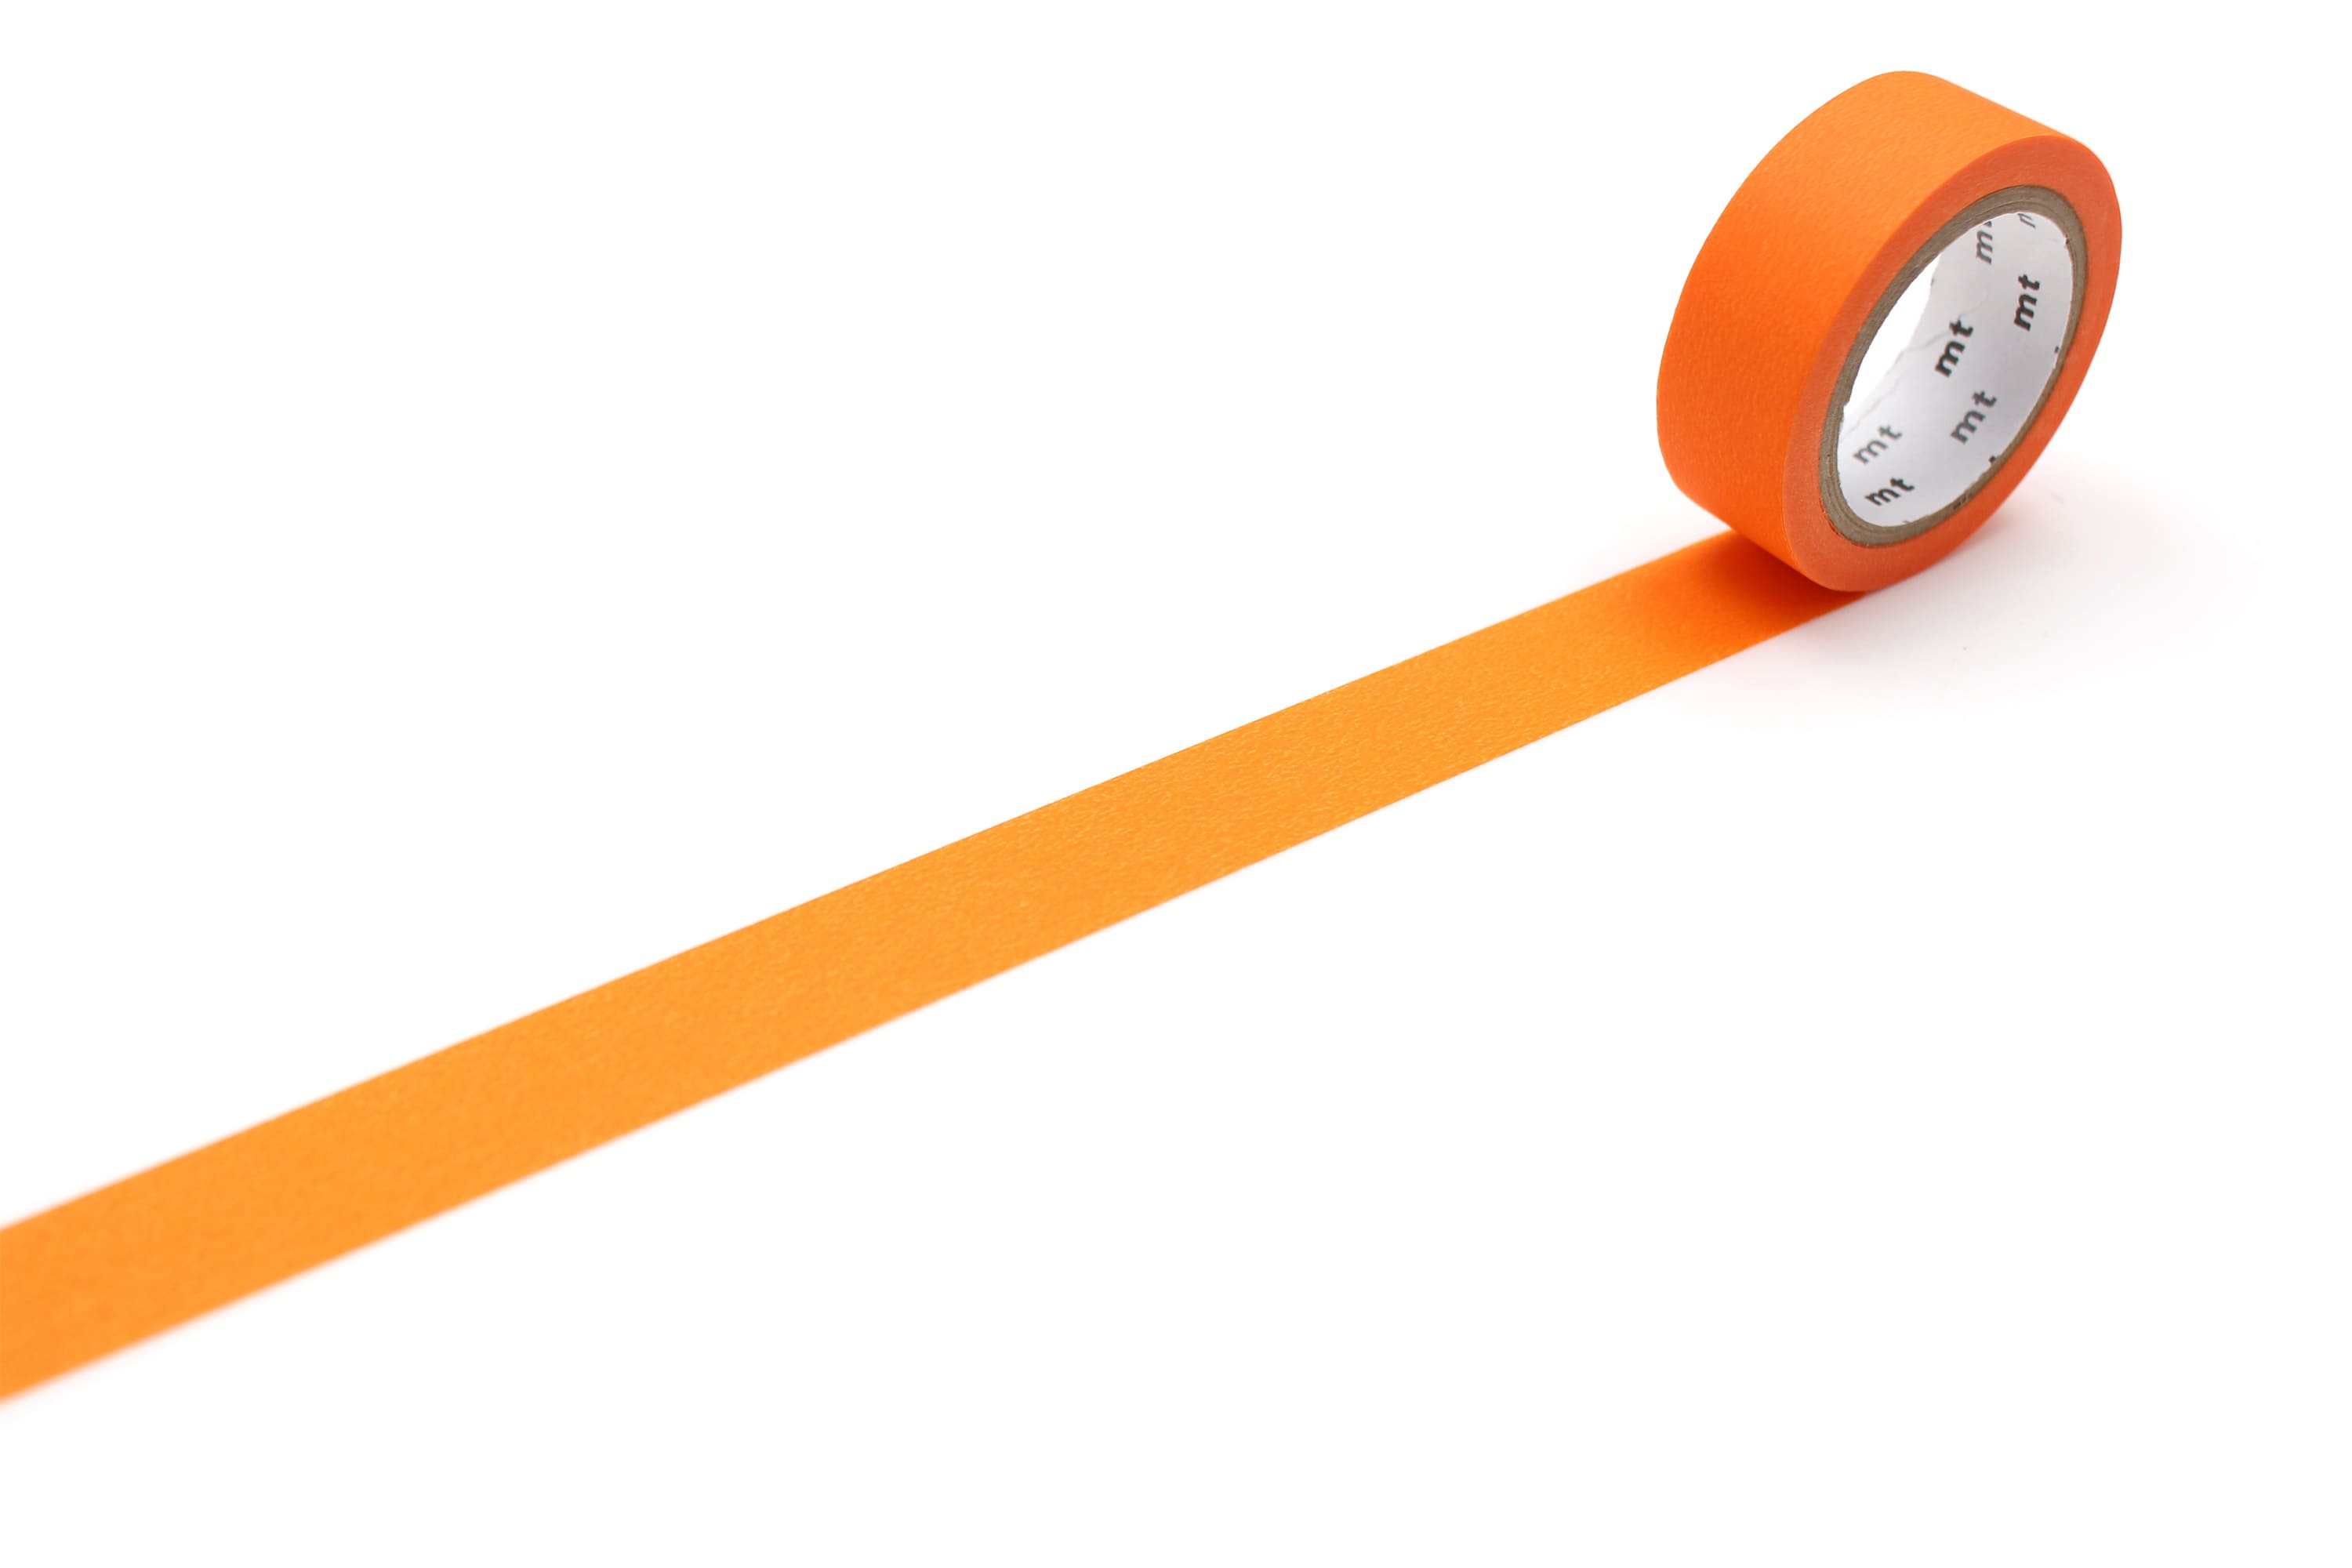
Now it’s time to bring your bookmark to life! Start applying strips of mt Washi Tape to the surface of your bookmark. You can mix different colours, patterns, and textures to create a layered look or go for a minimalist style with a single colour. Experiment with different combinations until you find a design that works for you.

Step 3: Add Your Chosen Images
This is where you can really make the bookmark your own. Once you’re happy with the tape, take some glue and add your chosen images. Whether you’re including illustrations, photos, or quotes, this step lets you add a personal touch to your design. Choose images that reflect your personality or interests to make your bookmark stand out.

Step 4: Final Touches
Give your bookmark a quick once-over to ensure everything looks just right. You can trim any excess tape, reposition images, or add any extra touches that make it feel complete. Once you’re happy with the final look, your custom bookmark is ready to use!


