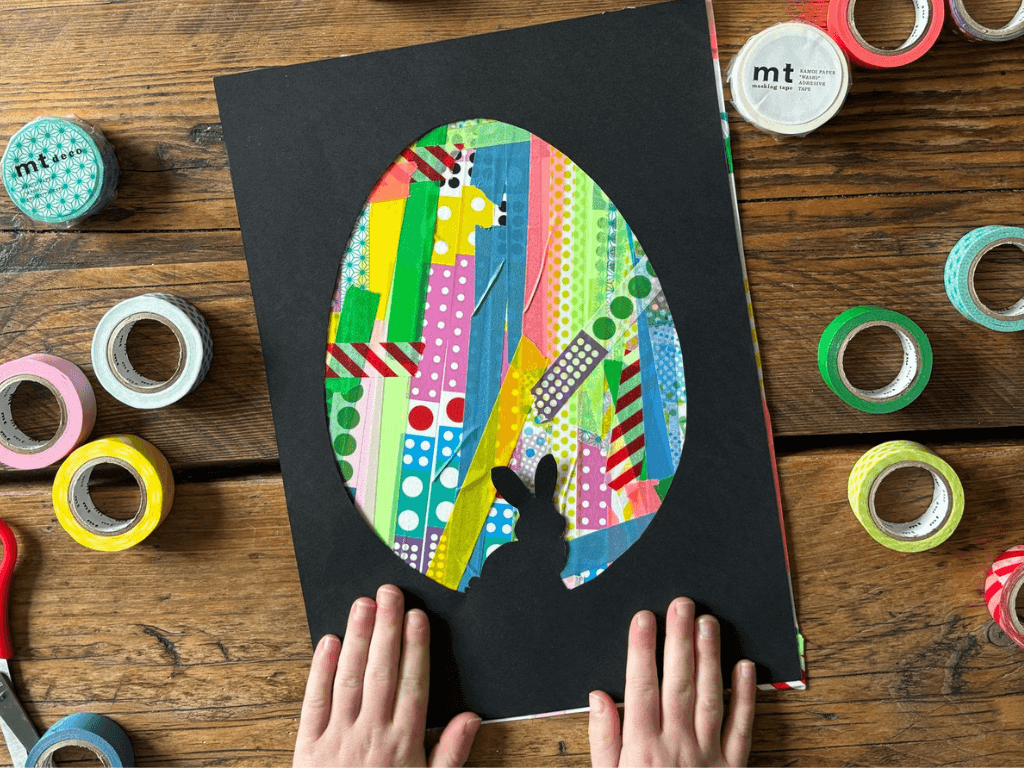
Looking for a joyful, mess-free Easter activity that kids and grown-ups will love? This playful Easter craft idea using mt Masking Tape is just the thing. With just a few basic supplies and a dash of imagination, you’ll create eye-catching, colourful decorations that are perfect for the season
What you'll need:
- A sheet of black paper
- White cardboard or card stock
- Scissors or a craft knife
- Your favourite mt Masking Tape rolls – go pastel, high brightness, or bold!
Step 1: Cut Out Your Easter Shapes
Begin by sketching classic Easter motifs like eggs, chicks, or bunnies onto black paper. Cut them out carefully to create a silhouette effect. You can freehand the shapes or use printed templates for extra precision — either way, perfection isn’t the goal. Let the kids get creative with it!

Step 2: Pick Your Palette
Now for the fun part - choosing your tapes! Soft pastels are perfect for spring, but don’t shy away from vivid colours or bold patterns. The beauty of mt Masking Tape is in its versatility. Let little ones pick their favourites to give their project a personal flair.

Step 3: Tape, Layer, Repeat
On your white cardboard, start layering strips of mt Masking Tape in any direction. Try stripes, patchworks, diagonals, or even zigzags — there’s no wrong way to do it.
The more overlap, the more interesting the texture and colour play. Let the kids go wild here!

Step 4: Reveal the Magic
Place your black paper over the taped cardboard. Suddenly, your silhouette come to life with vibrant colours peeking through. It’s a simple yet striking effect that kids will love - and it makes a great display for your fridge, windowsill, or even your Easter table.

Bonus Idea: Make It a Card!
Shrink the project down and turn it into a lovely handmade Easter card. It’s a great way to share some seasonal joy with grandparents, teachers, or neighbours.
